Maya - Render Preview Window
Checking Scene Direction
The Maya Render Preview Window is a very useful tool, particularly to gauge progress as we build up our scenes.
It's important to regularly check the preview window once we start dealing with
Materials
and
Lighting,
because the viewport window likes to lie to us.
The only way to see what the final output is going to look like is to check in the render preview window.
WARNING: If the render window does not look similar to the examples, then Maya is probably not using Arnold to render. If so, go to Maya Render Settings to change it. All of the documentation here assumes Arnold rendering.
Opening the Render Preview Window
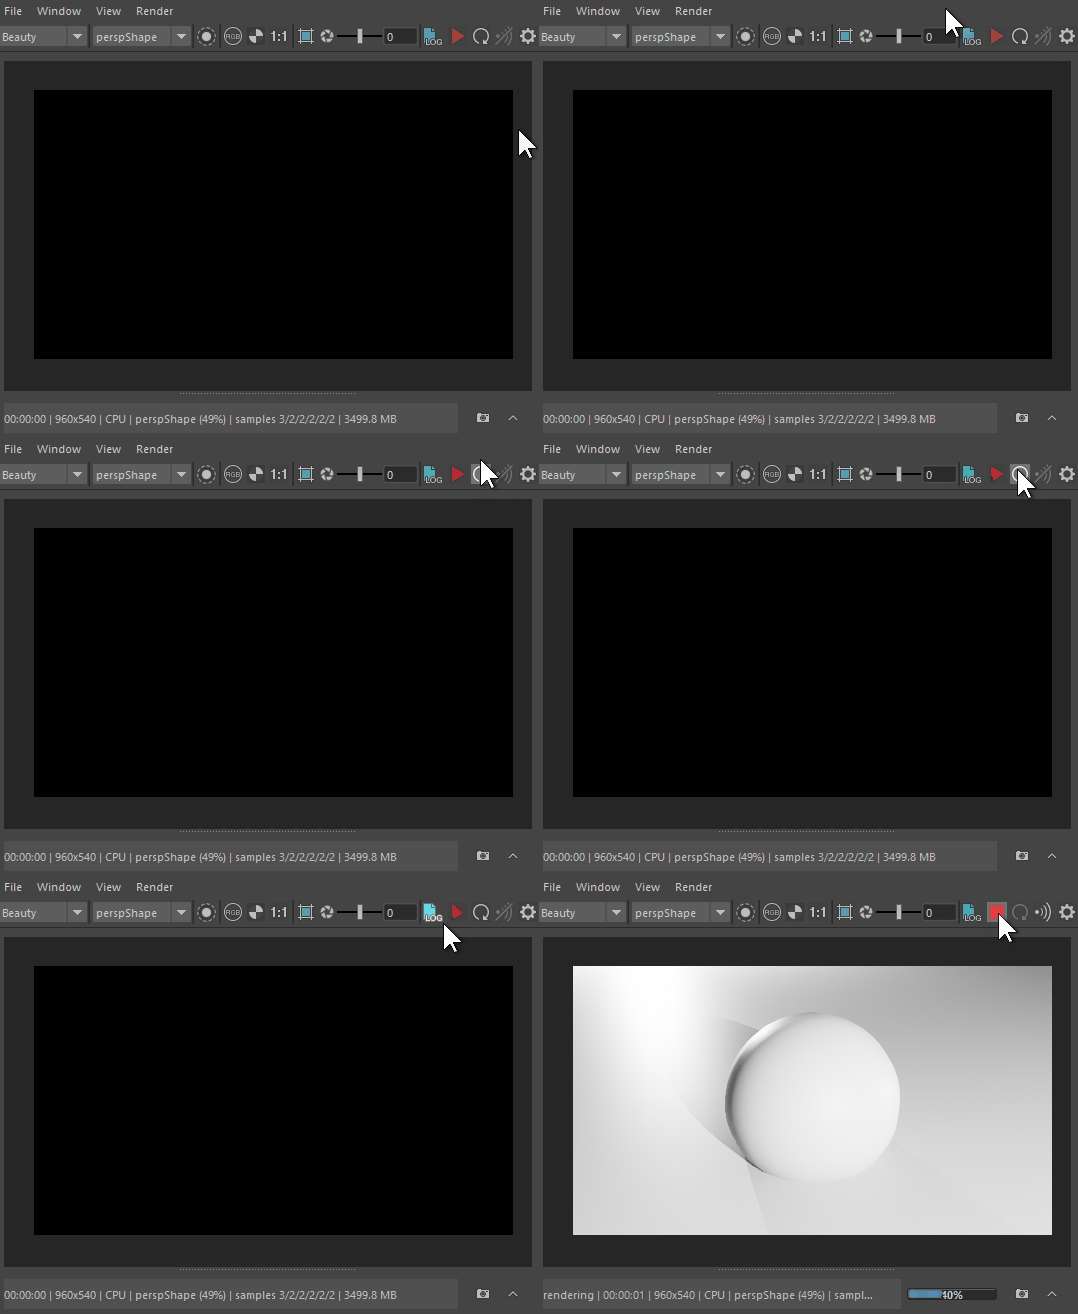
The easiest way to open the Render Preview Window is to use the icon at the top-middle of the screen.
There is a section of icons that look like "clapperboards", or "film clappers", used in real-life movie making.
The one we want is the clapper icon with an eye on it.
Using the Render Preview Window
Displaying Within the Render Preview Window

With our Render Preview window open, there should be a red triangle in the top-right. We can click this triangle to start rendering from our selected camera.
Note that rendering tends to be resource-intensive and can slow down your PC. To turn off the preview, click the red square that has replaced the original triangle.
NOTE: If the preview window does not appear to be displaying anything, there are two common causes.
-
There are no lights, or the lighting that is present is inadequate.
This is very frequent with those new to Maya. Double check that the lights are pointing where you expect, and that both Intensity and Exposure are each set to 10 or higher.
We can always lower these values later, but these tend to be good starting defaults, just to make sure the scene is visible at all.
-
The Render Settings "Render Device" was set to GPU, and this is the first time the PC is rendering a scene.
When rendering with GPU, there is usually a "compiling shaders" step, which tends to take a few minutes. This step only has to run once, and then it shouldn't have to run again until Maya or the GPU drivers update.
Changing the Render Preview Camera

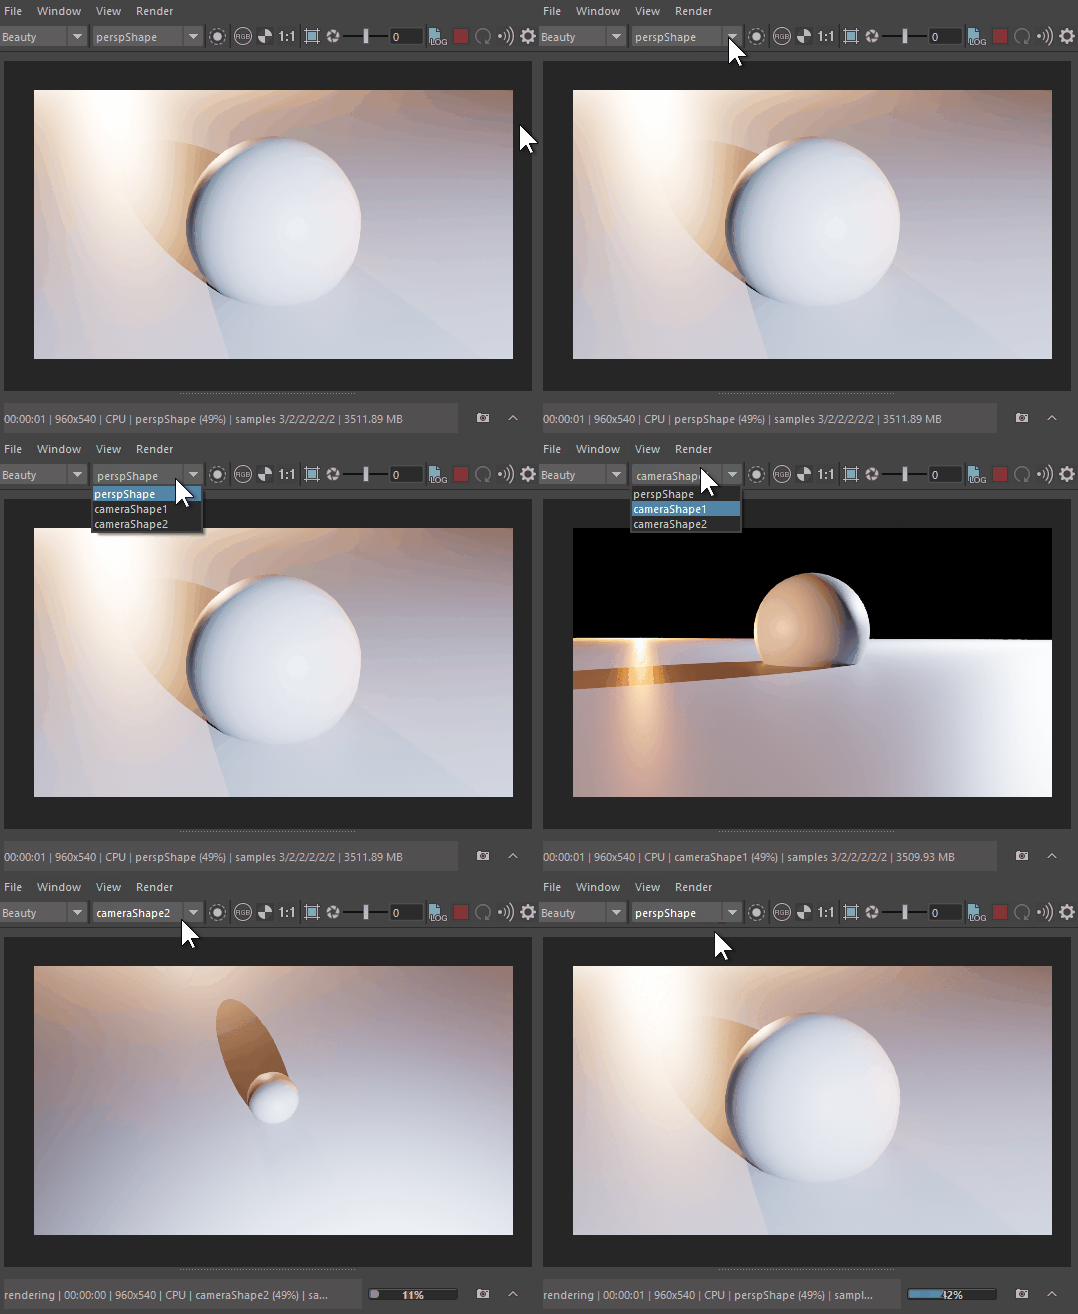
By default, the Render Preview Window will render using our default perspective camera. Aka, the same camera we use to look through the viewport by default.
Once we've created additional camera objects, we can render using those instead.
To select a different camera, click the dropdown that is second from the left (and probably says "perspShape" by default), then select the desired camera.
If the preview window is actively rendering, then the render will instantly update to the new camera.
Correcting When Objects Don't Show Up in Preview
Sometimes, objects wouldn't display correctly, or recently added lights would seem to have no effect on a scene.
In older versions of Maya, this used to be more common. Lately it seems better, but still comes up on occasion.
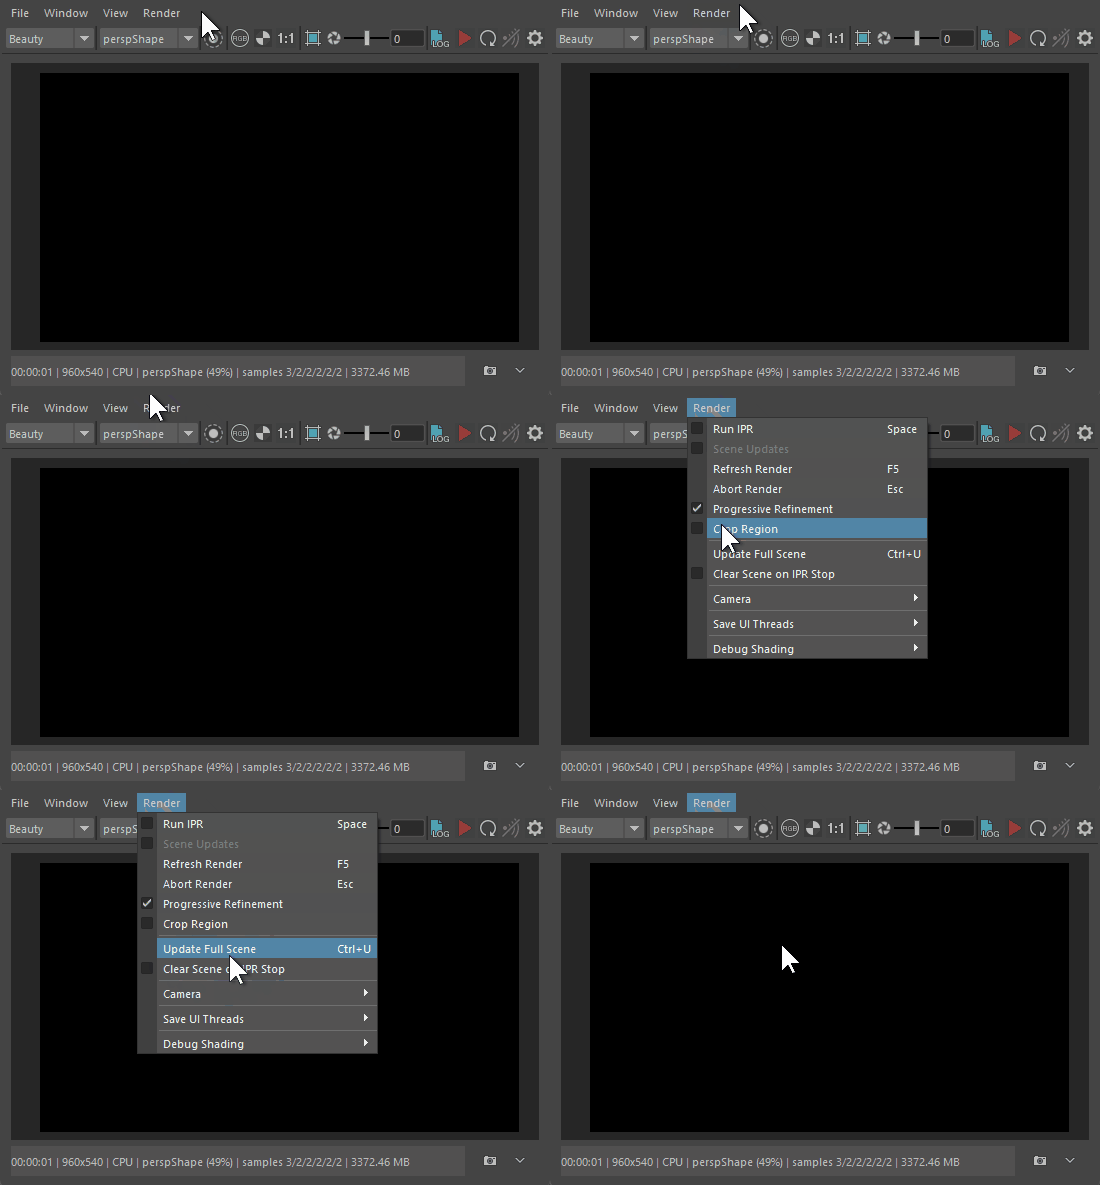
This is mostly due to the renderer not automatically detecting changes properly. Luckily, we have a button to tell Maya to update everything it can, which corrects this issue.

In the Render menu dropdown, we can use the Update Full Scene button.
This should force Maya to try to update everything it can for rendering.