zBrush - Brushes
N/A
zBrush comes with many different brushes out of the box. But not all brushes are equal.
Mastery of zBrush requires knowledge of how to use multiple brushes, and when to switch between them.
Every brush has a "standard" behavior that's achieved with Left Click drag.
This behavior can be inverted by holding Alt/Option as you Left Click drag.
Below is a list of some of the more common brushes. There are many brushes that are not documented here, and it's also possible to also import custom brushes as well.
Clay Brushes
Brushes that add to or remove from your object, as if working with clay.
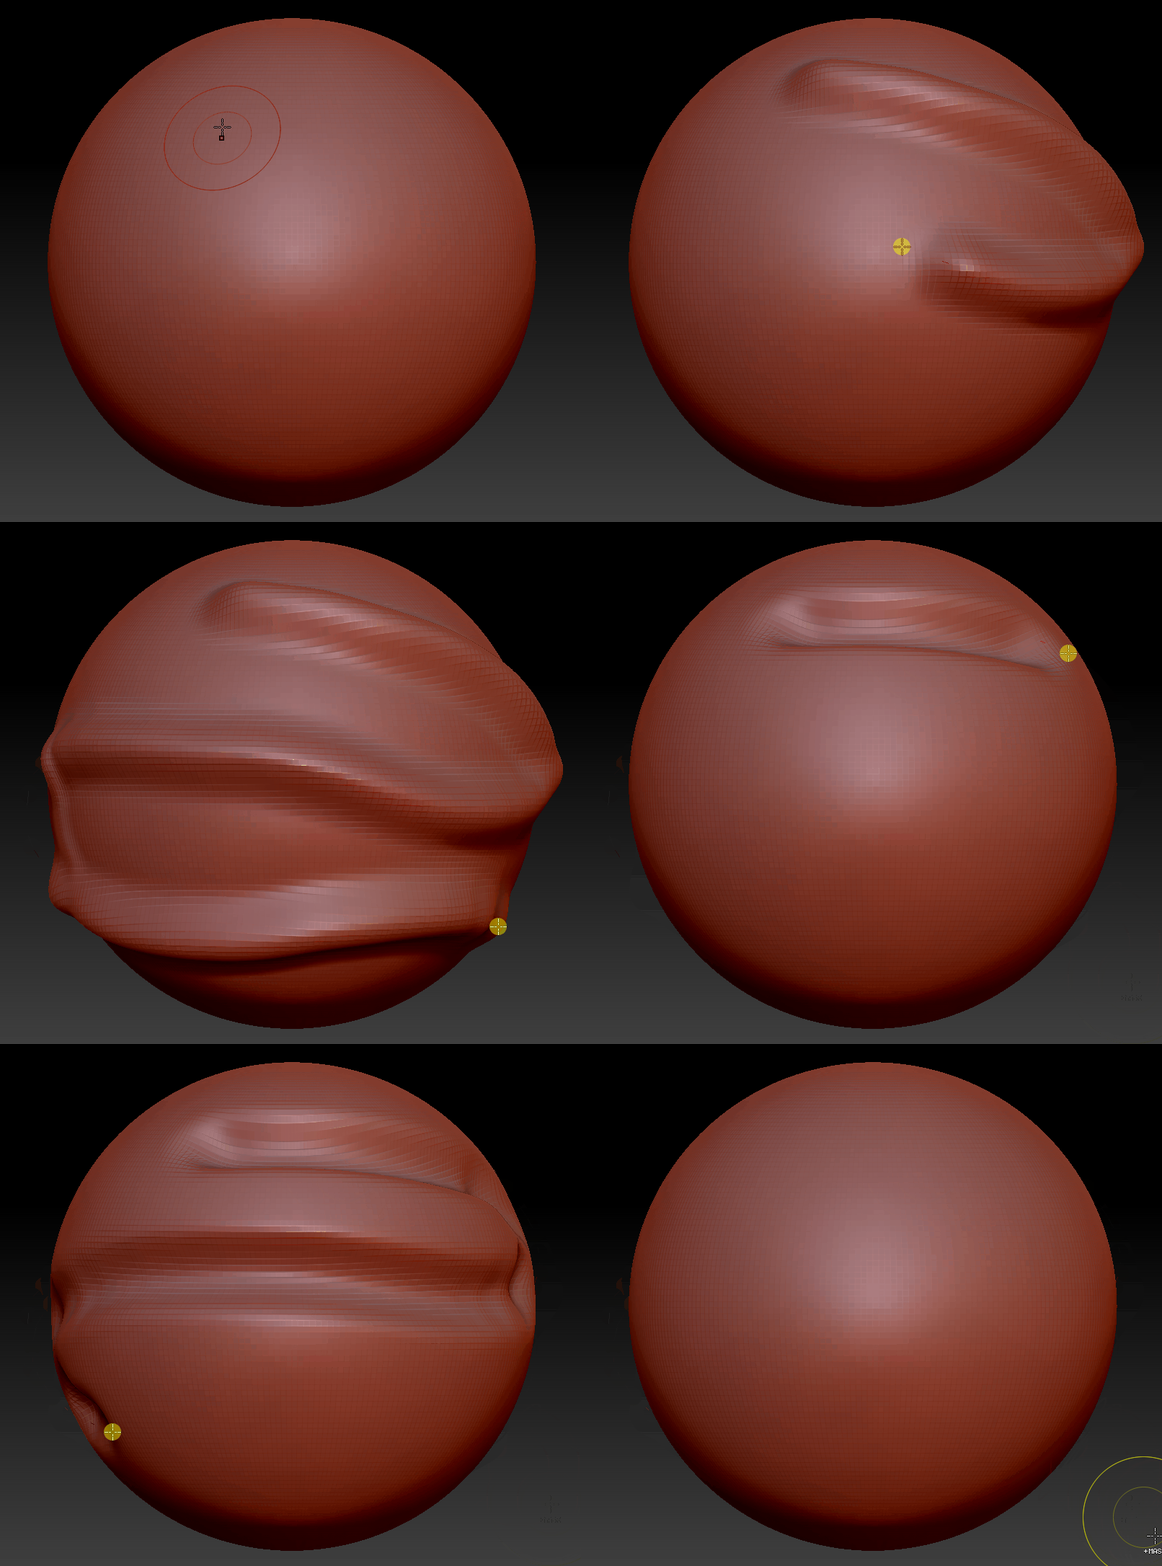
"Standard" Brush - The default brush when you open up zBrush.
This creates a fairly smooth and even stroke.
It's a solid, basic stroke. A good safe choice when learning and unsure what brush to use.
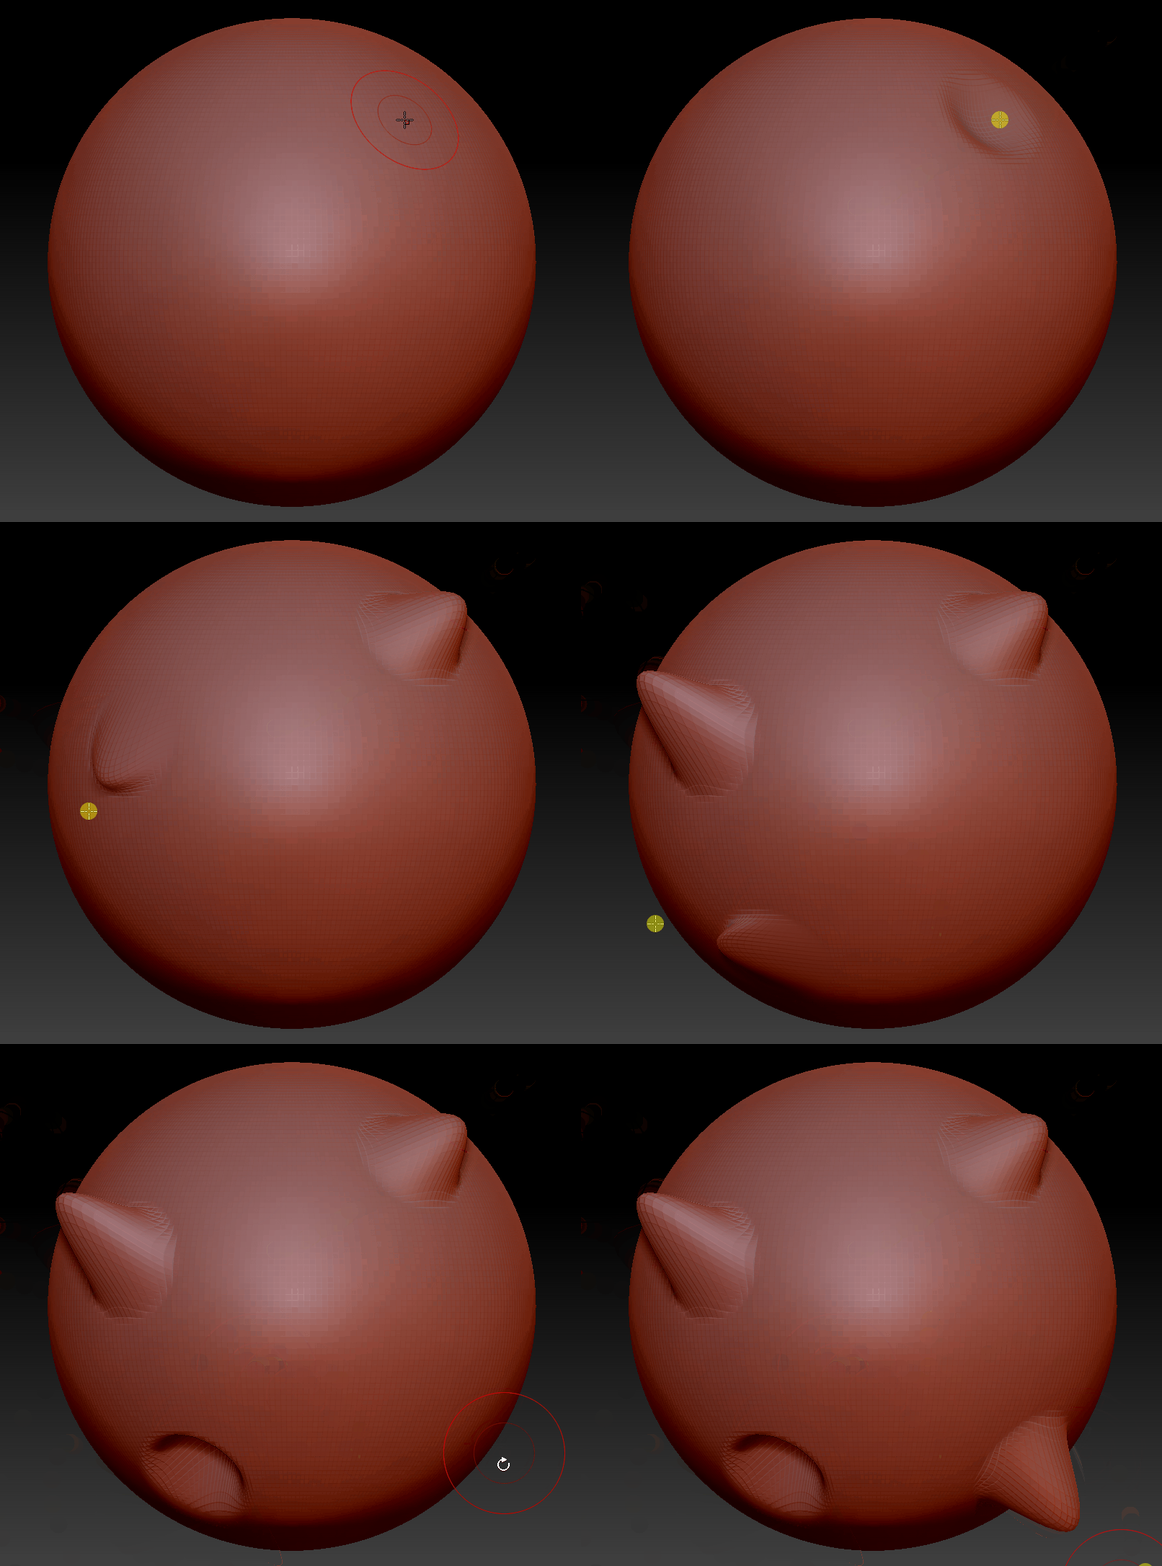
Move - This brush "grabs" the clicked location and drags it towards the mouse.
Extremely useful for building up fast overall shape at the start of a sculpt.
Also useful for expanding/shrinking an overall shape, while trying to
generally retain existing details and strokes.
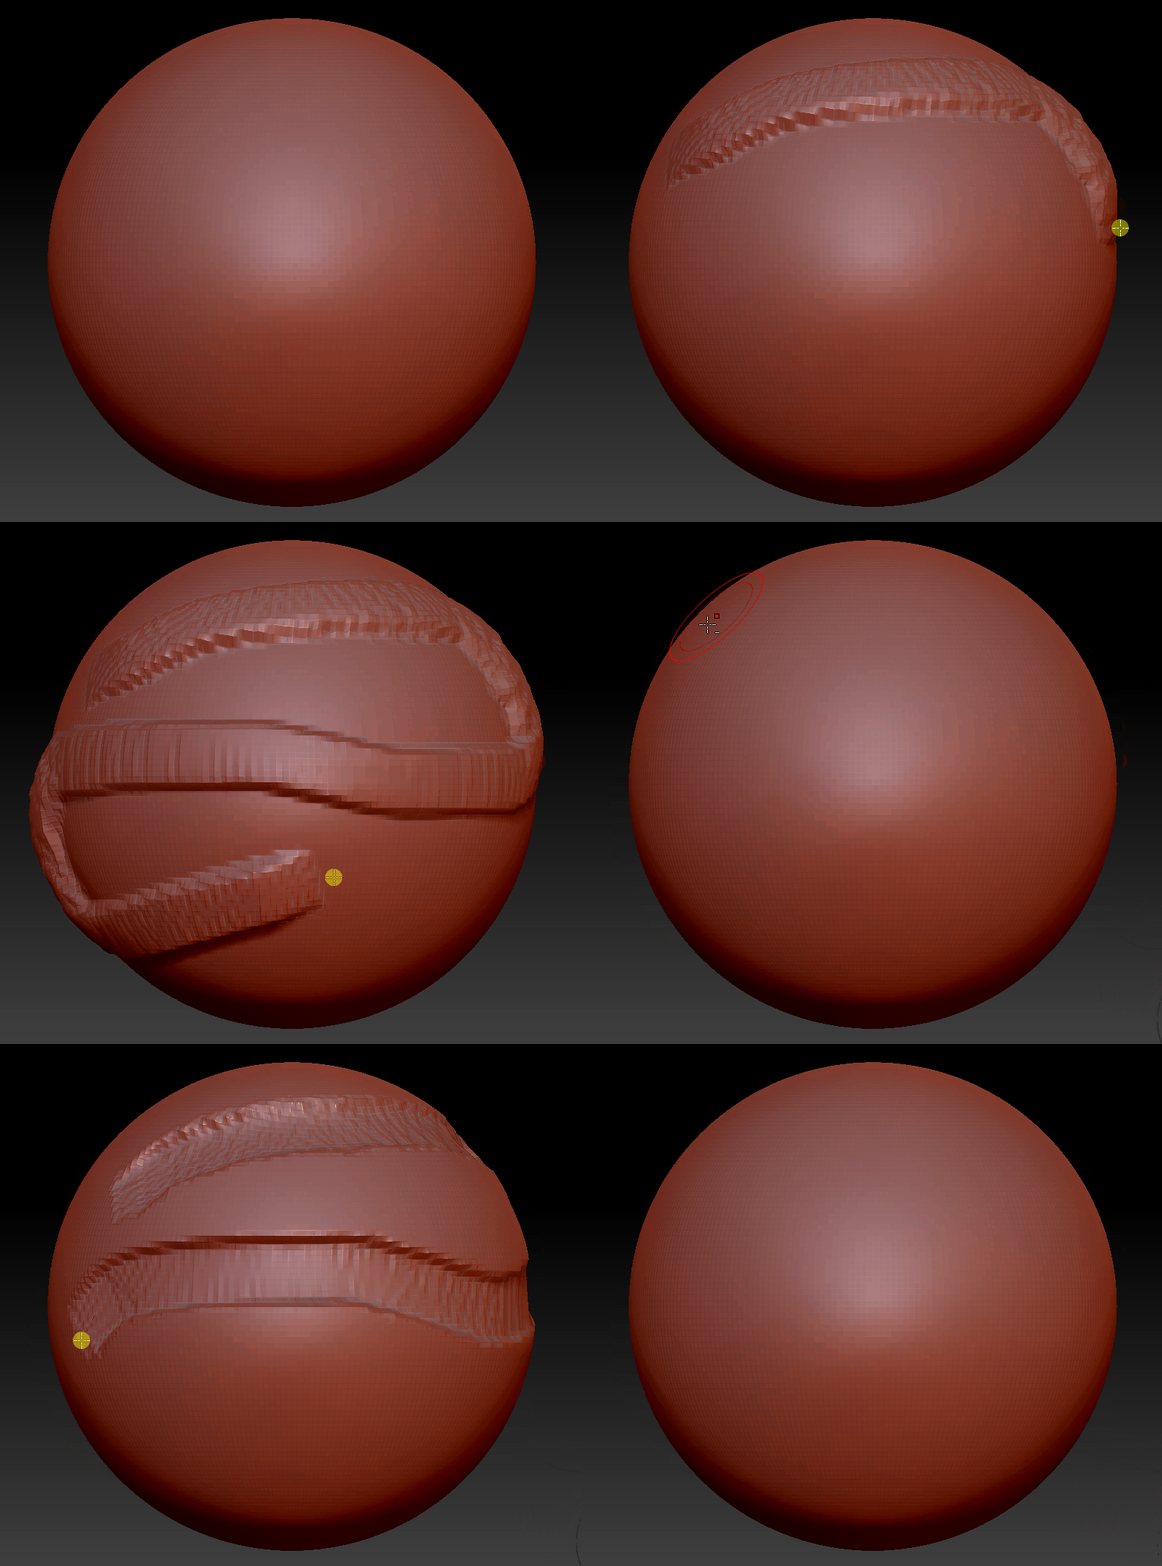
Clay Build Up - Adds or removes mass, leaving a very textured surface.
It's almost like working with actual clay.
Extremely useful for building up or digging away quickly.
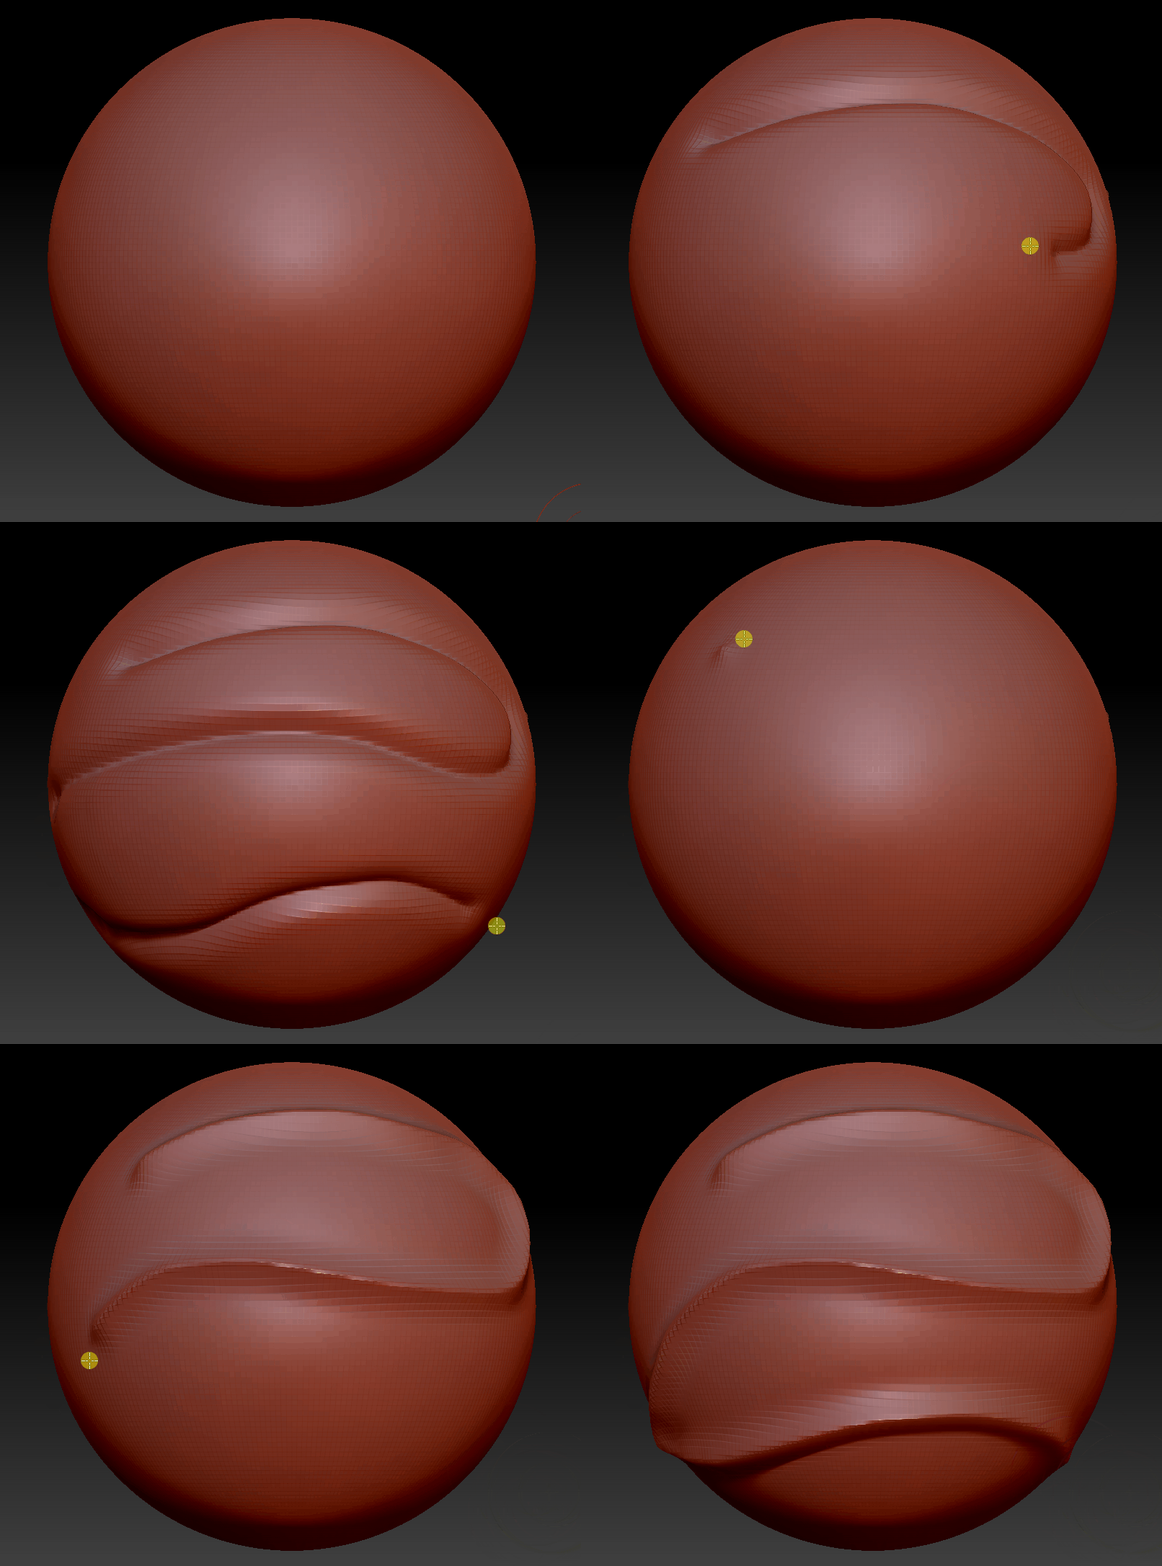
DAM Standard - Stands for "Damien Standard," Damien being the person that originally made the brush.
This brush creates a sharp indent at the middle of the cursor, with a softer indent around that.
Or if inverted, it creates a sharp ridge at the center, with a smaller hill around it.
It tends to be good for creating wrinkles and creases.
Sidenote: The author of this has released a free "version 2" of this brush, which is available for download
at https://maddam.gumroad.com/l/QEmnC.
However, this newer brush is not officially supported by zBrush, so it's possible the brush
might break in newer versions of the software.
Having said that, this new version claims to be smoother and more organic. If you like the original DAM, give this one a shot!
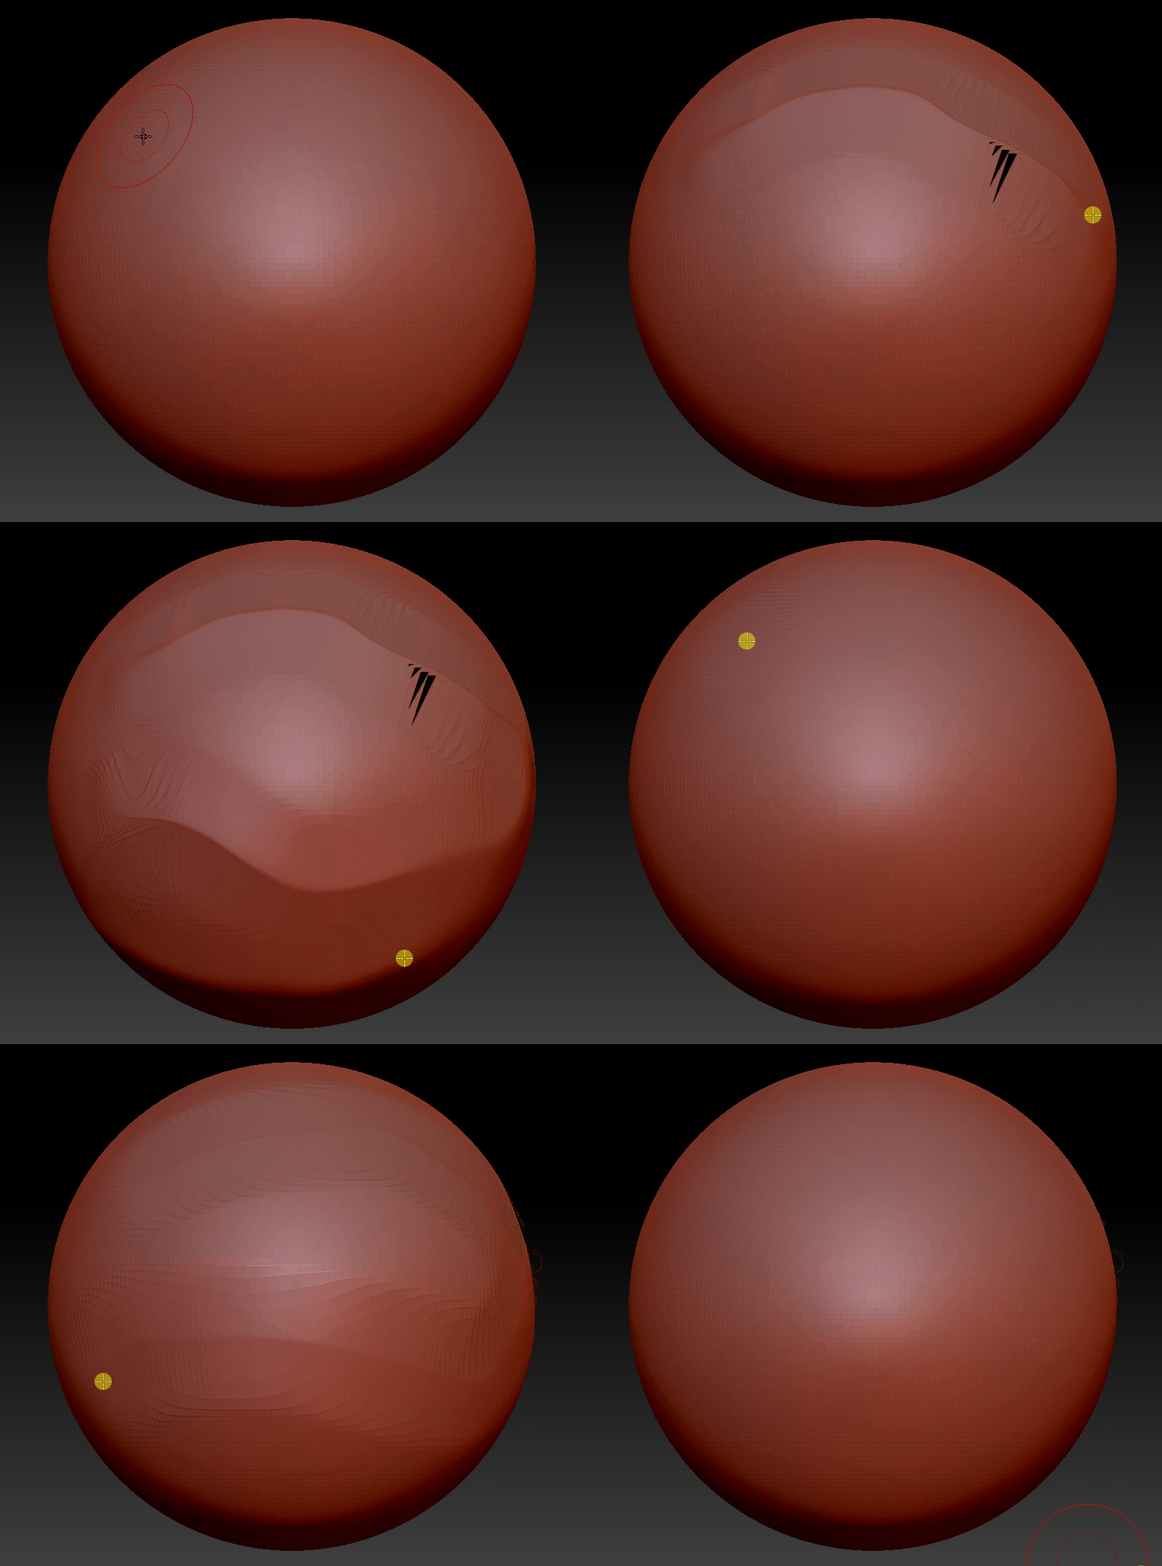
Pinch - Effectively "pinches" the mass together, towards the brush center.
Good for creating creases without wanting to change surrounding topology too drastically.
Warning: Be careful using this brush, particularly on lower density objects.
As you can see in the example, overpinching can easily lead to warping and artefacting, which often leads
to holes in your model.
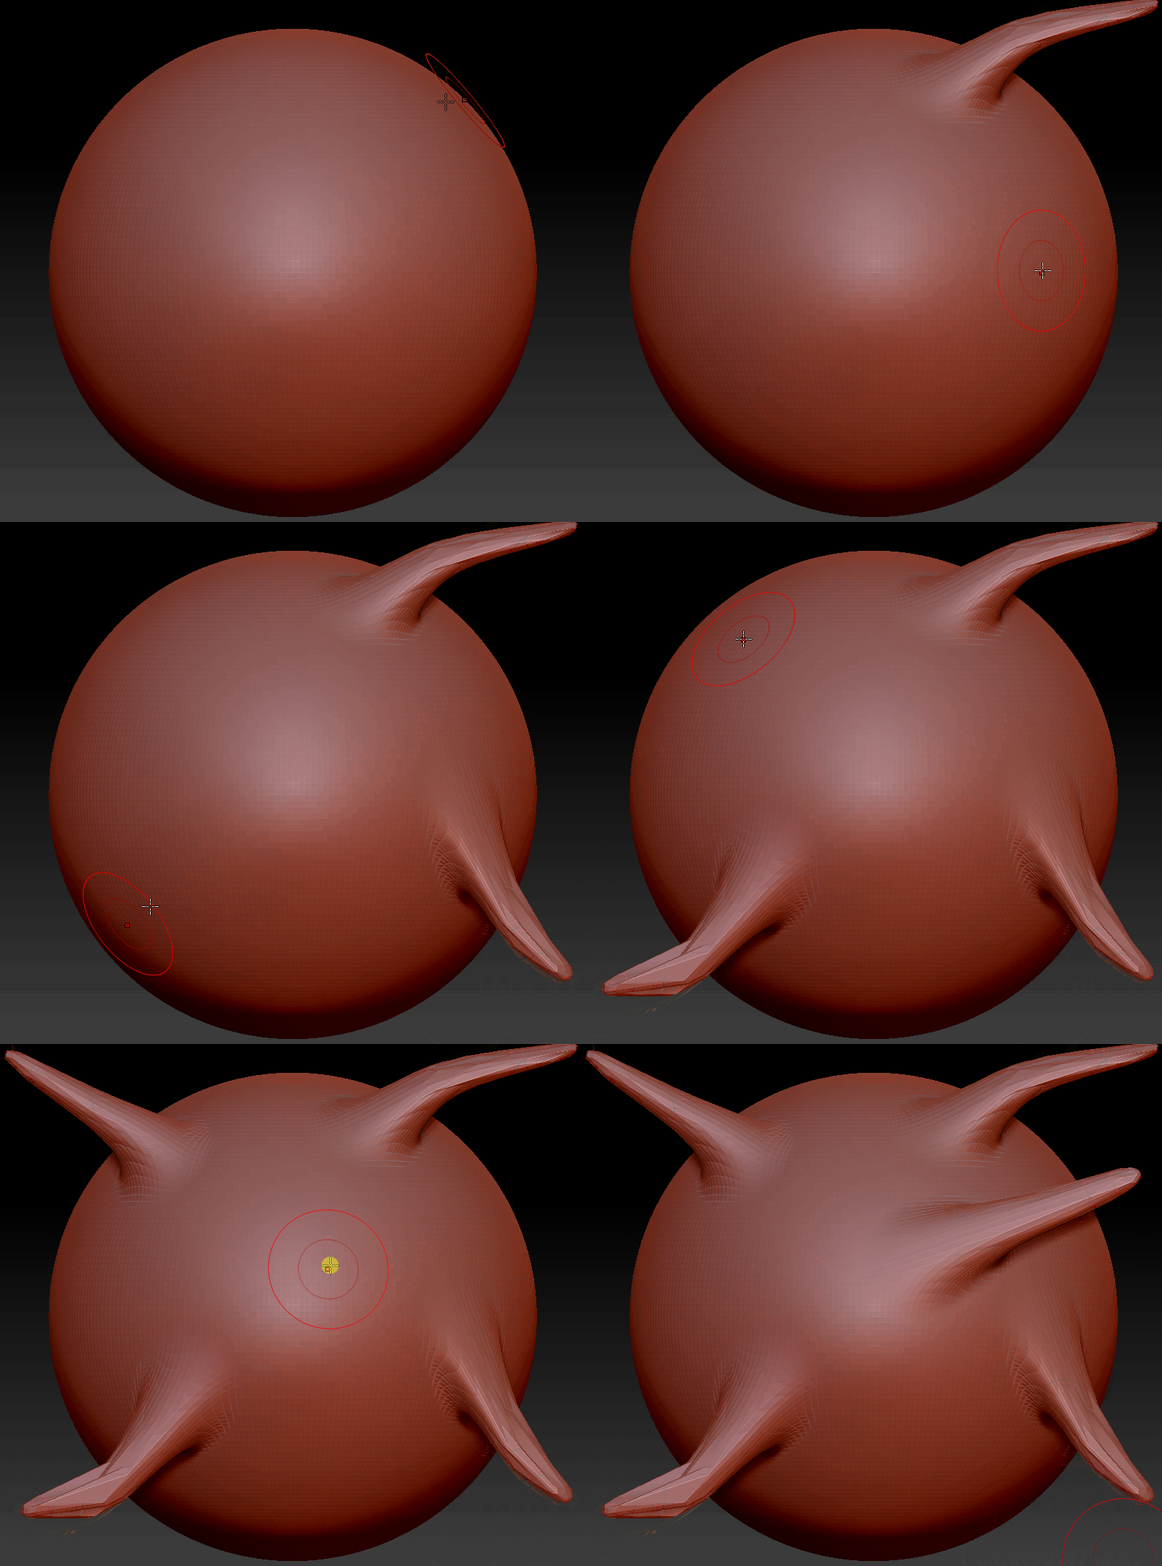
Snake Hook - Somewhat similar to the Move brush, except effect is more extreme.
Can be used to make slender limbs, tentacles, horns, or other protruding type appendages.
Warning: Be careful using this brush, particularly on lower density objects.
As you can see in the example, the further this brush drags out, the more strained the topology can get.
Often, it's good to run a
dynamesh after using this brush.
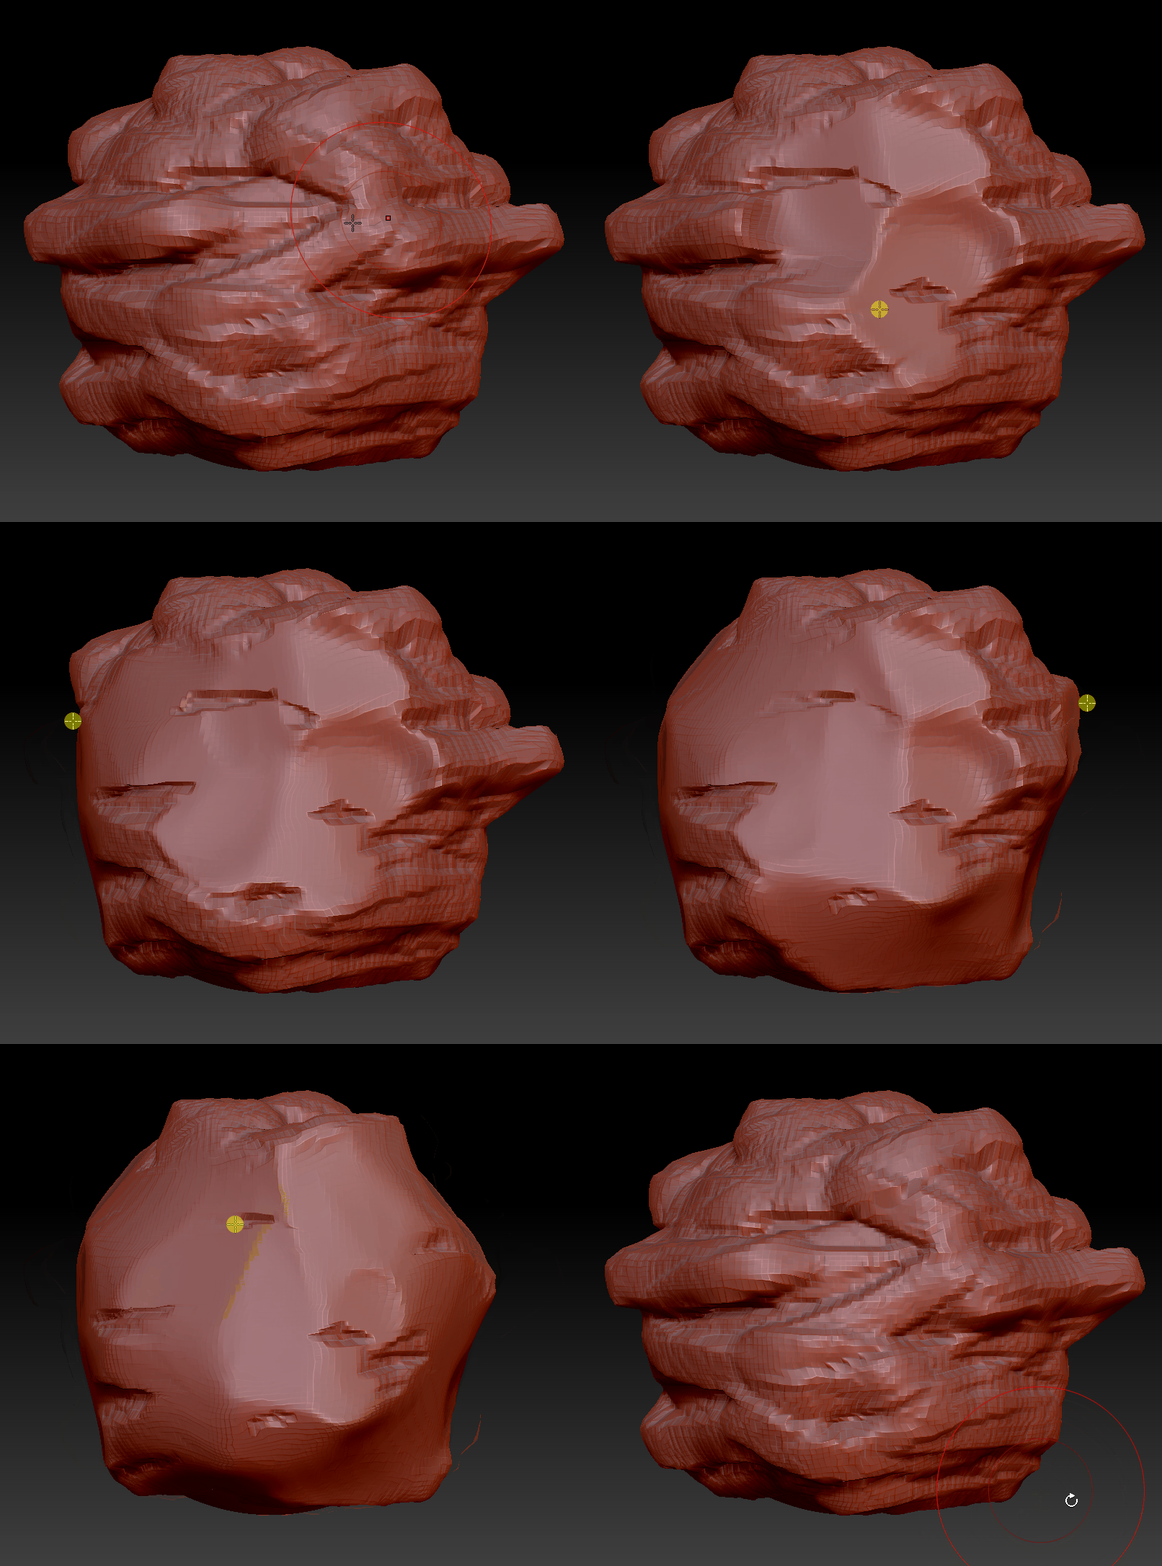
Flatten - Somewhat similar to the below "smoothing brushes," except you don't have
to hold shift when using this brush.
Generally tries to flatten in the average direction of surfaces under the brush.
Smoothing Brushes
Brushes that soften, smooth, or "even out" your object.
All these brushes require holding SHIFT as you use the brush.
Selecting any one of these brushes will change the behavior of zbrush when holding shift and Left Clicking.
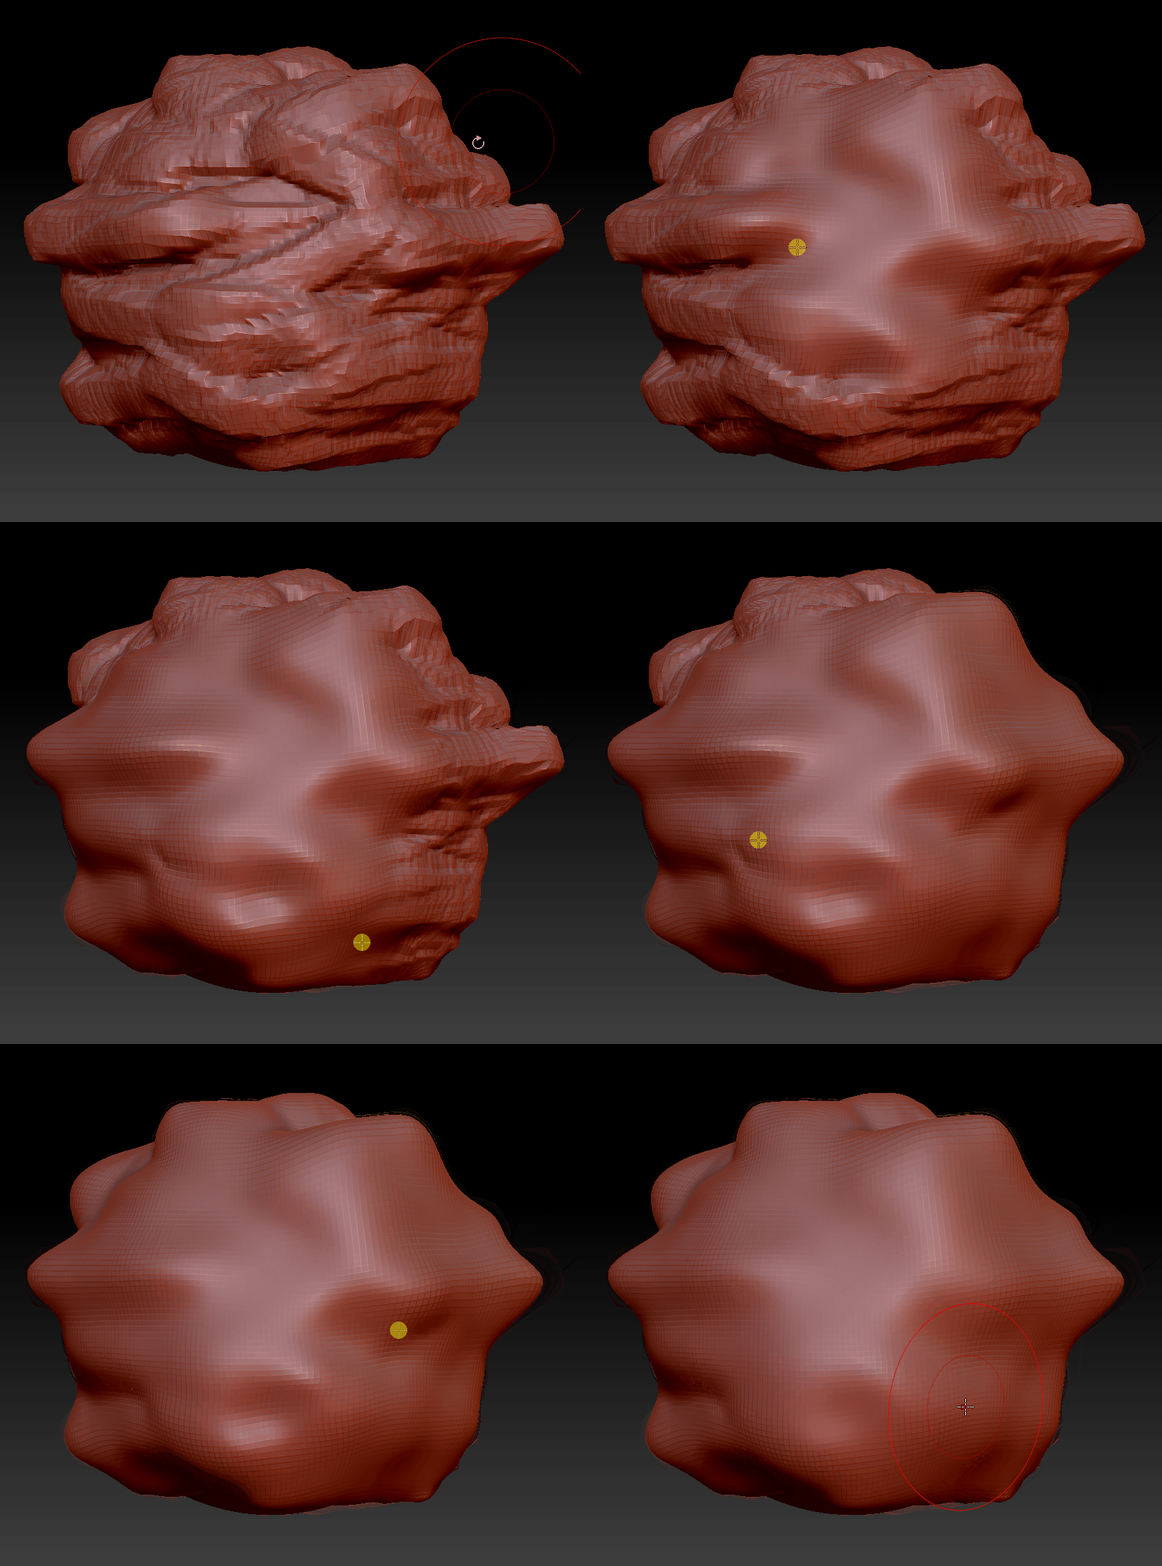
Smooth - The default smooth when holding shift, after opening zBrush.
Attempts to eliminate any hard edges, gradually making the object smoother the longer it's used.
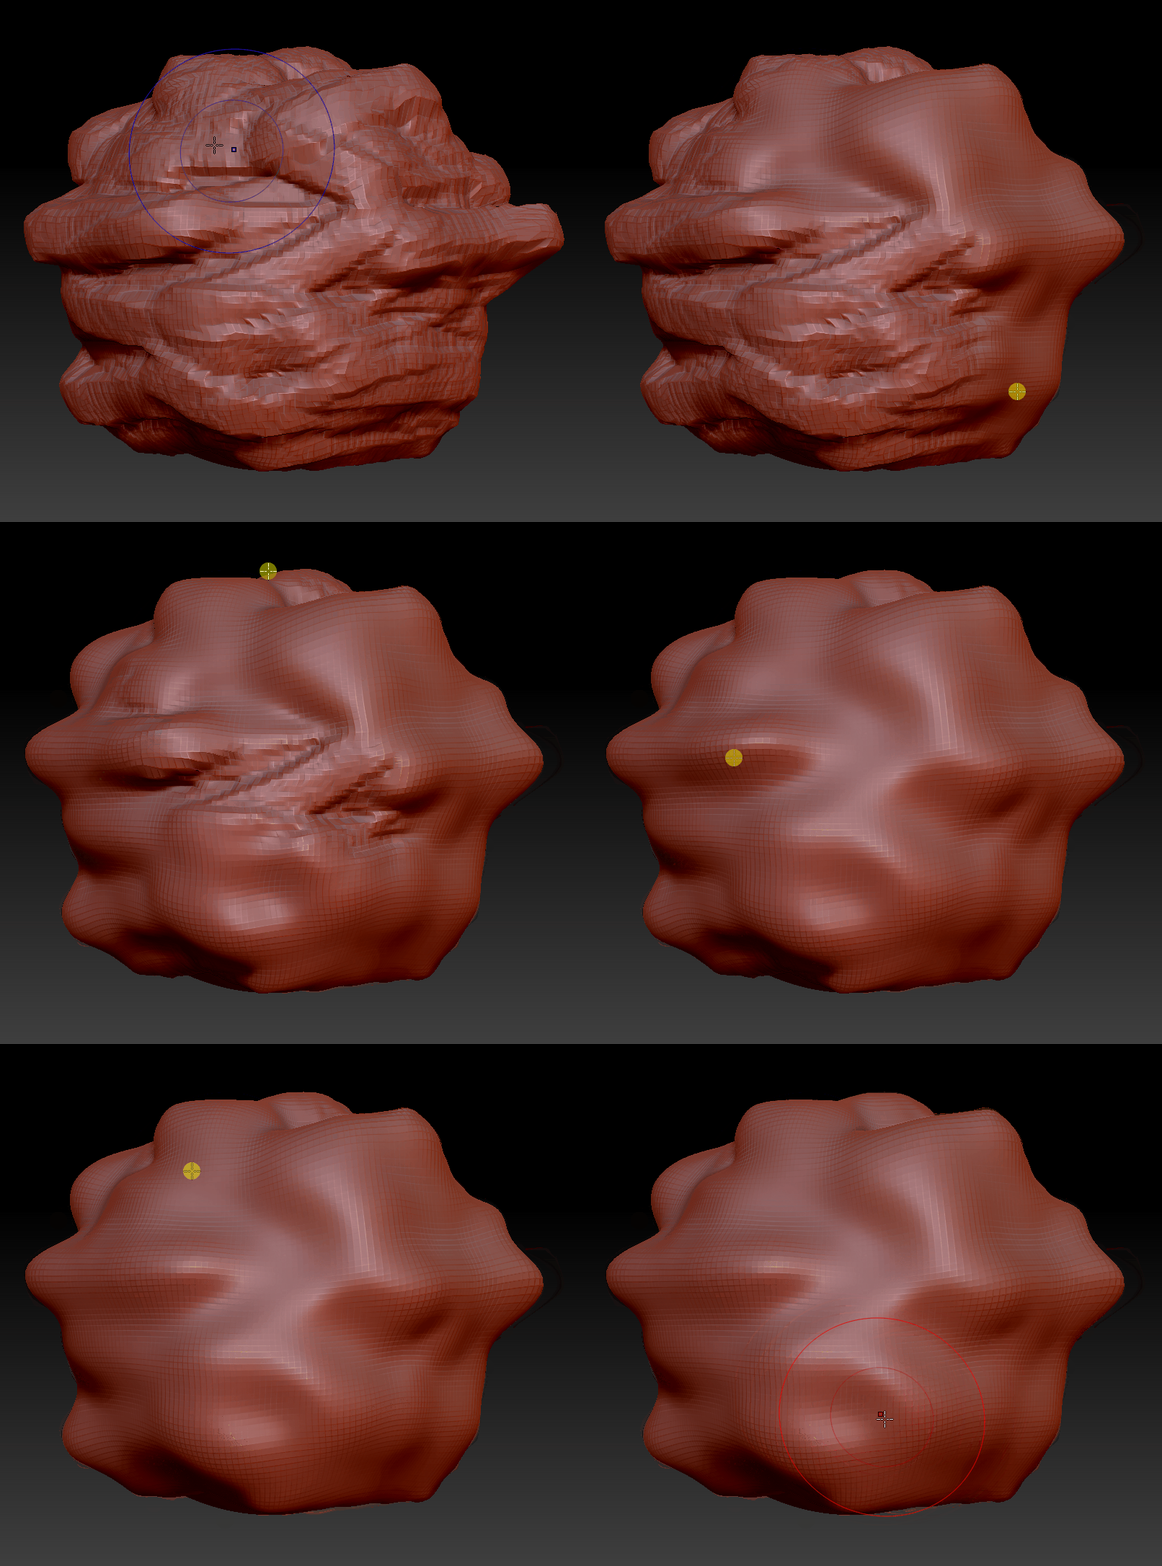
Alternate Smooth - Similar to the above "Smooth" brush, but with a slightly tweaked algorithm.
It's nearly the same, except this one attempts to retain large forms as much as possible.
By contrast, the default smooth attempts to smooth out everything, which can quickly remove/reduce
large shapes the longer its used.
Note: This version of "Smooth" can also be used by pressing shift, starting to draw, and then releasing shift while mid-stroke.
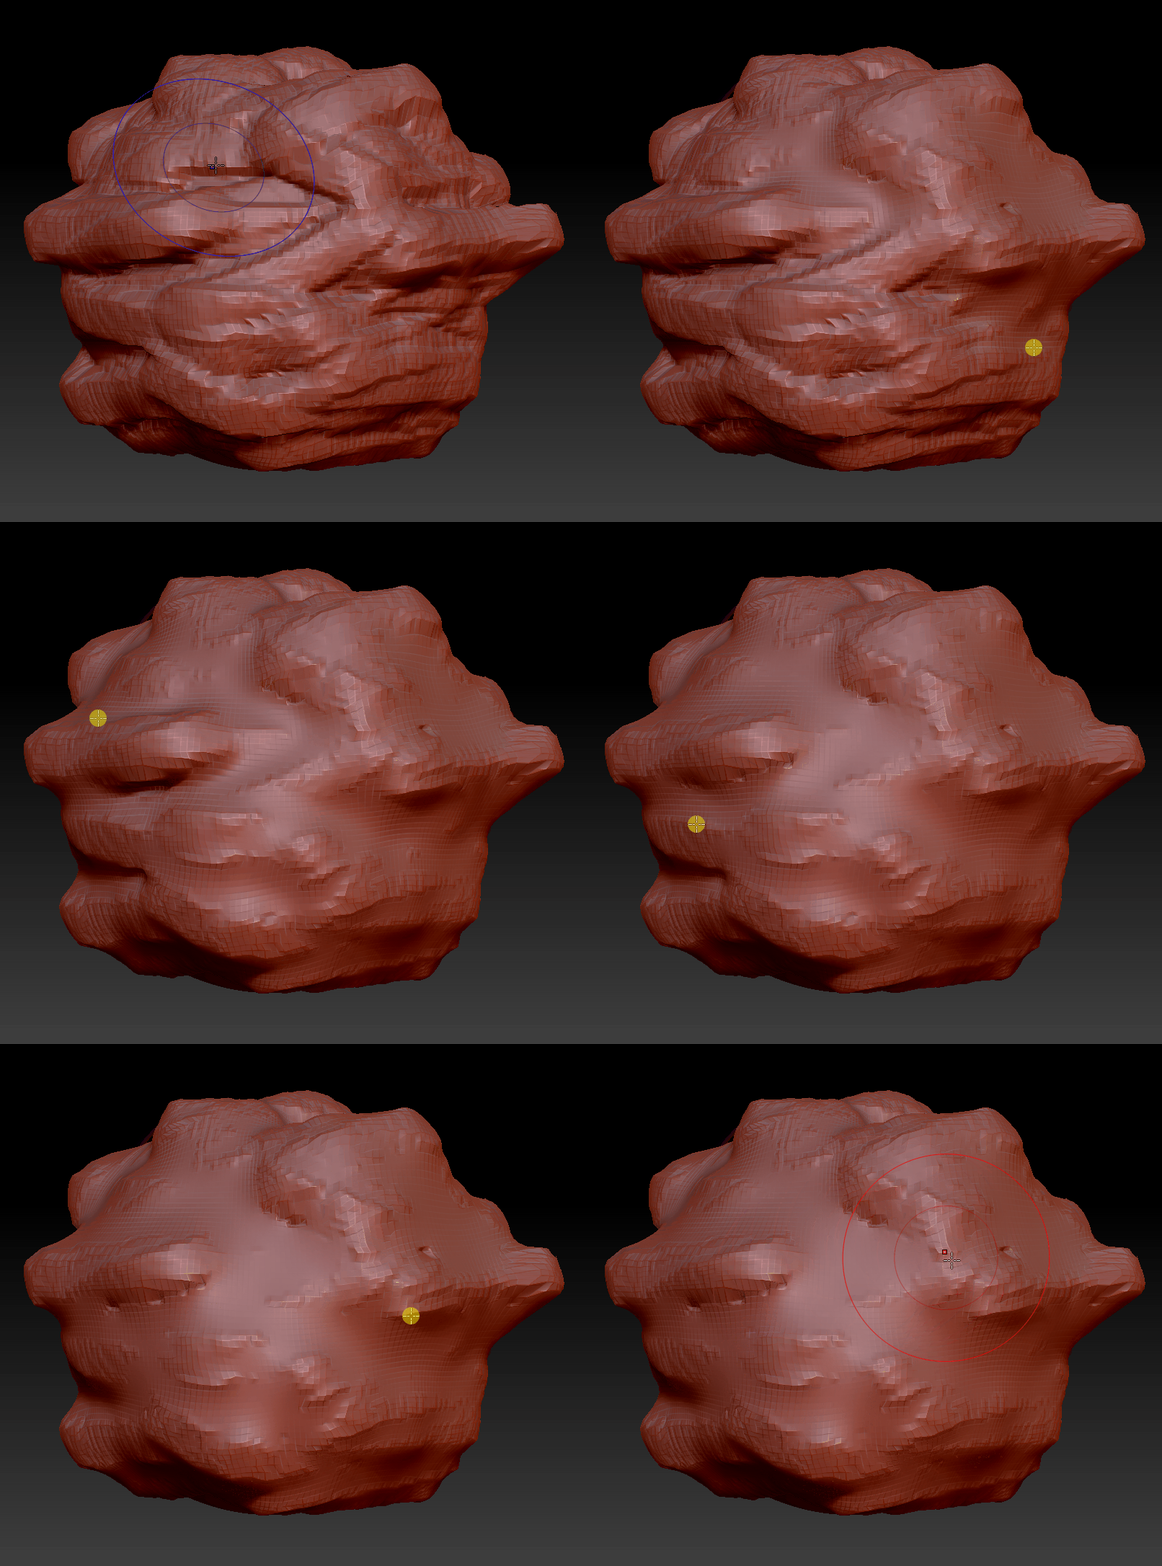
Smooth Valleys - Similar to the default "Smooth" brush, except it attempts to only smooth the deepest valleys on the object, building mass upwards toward the peaks.
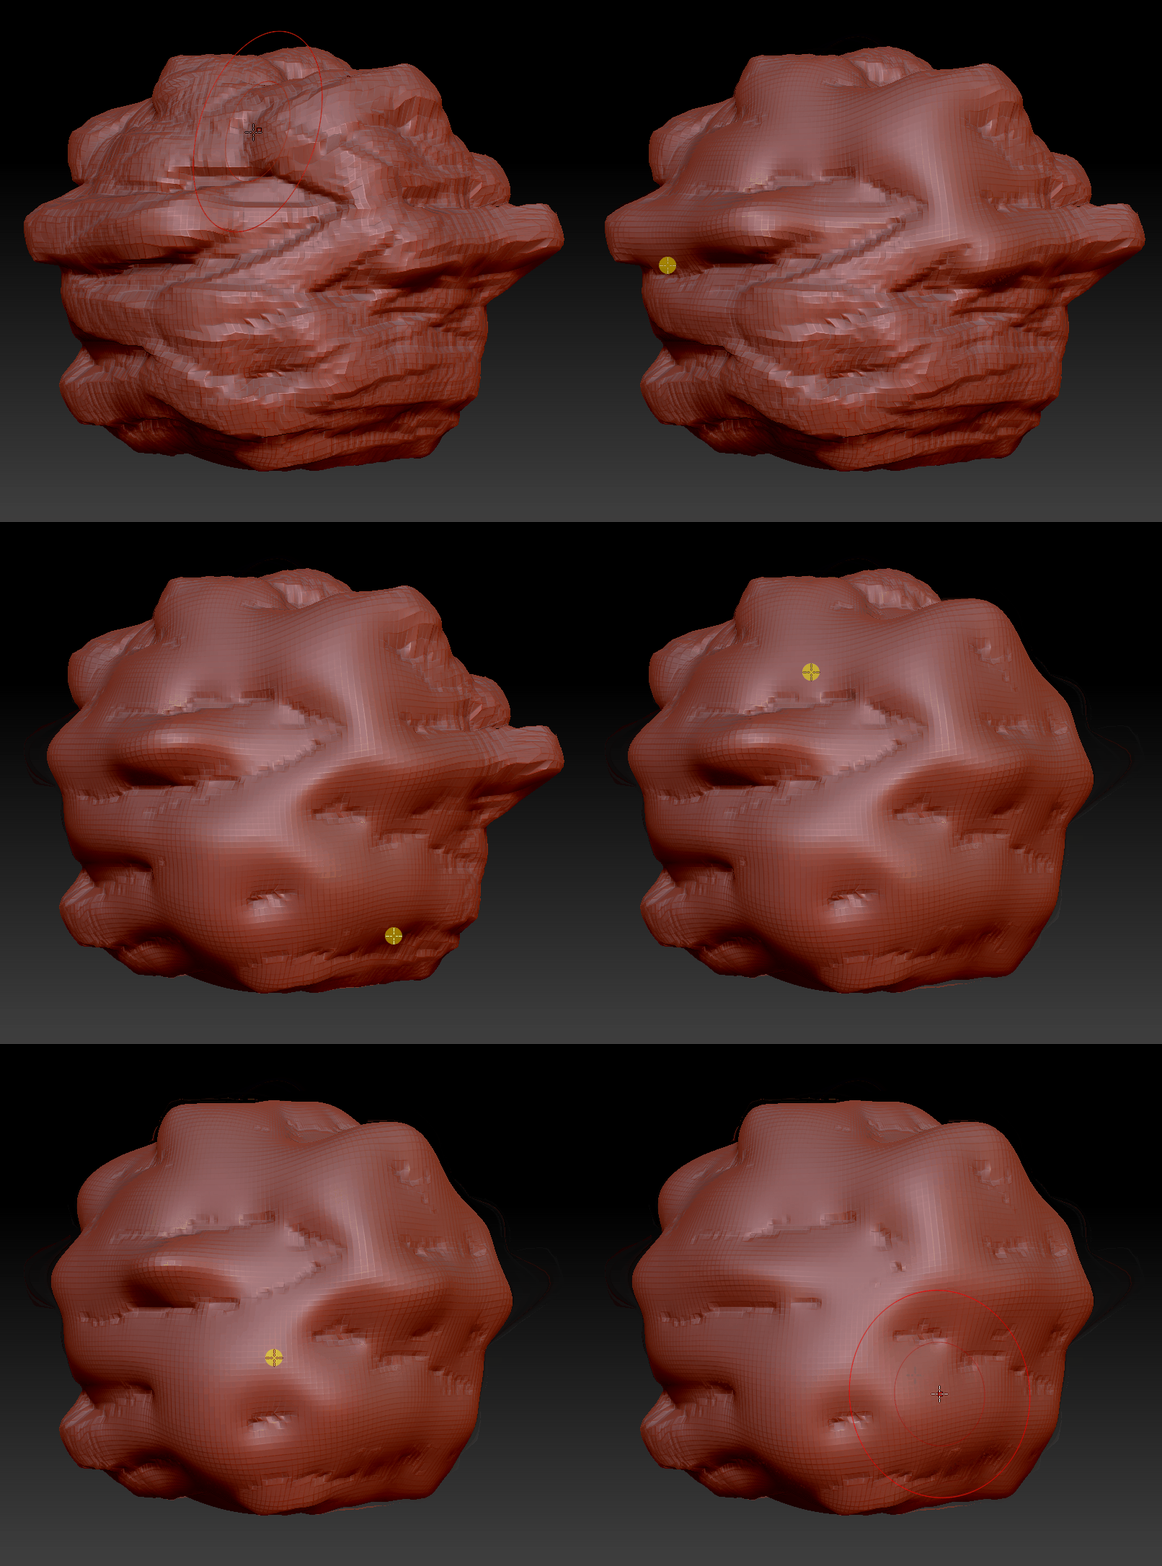
Smooth Peaks - Similar to the default "Smooth" brush, except it attempts to only smooth the highest peaks on the object, removing mass downward toward the valleys.
Masking Brushes
Brushes that create a mask on your object.
All these brushes require holding CTRL as you use the brush.
Selecting any one of these brushes will change the behavior of zbrush when holding Ctrl and Left Clicking.
Alternatively, if you want to REMOVE from the current mask, hold Ctrl + Alt and Left Click drag.
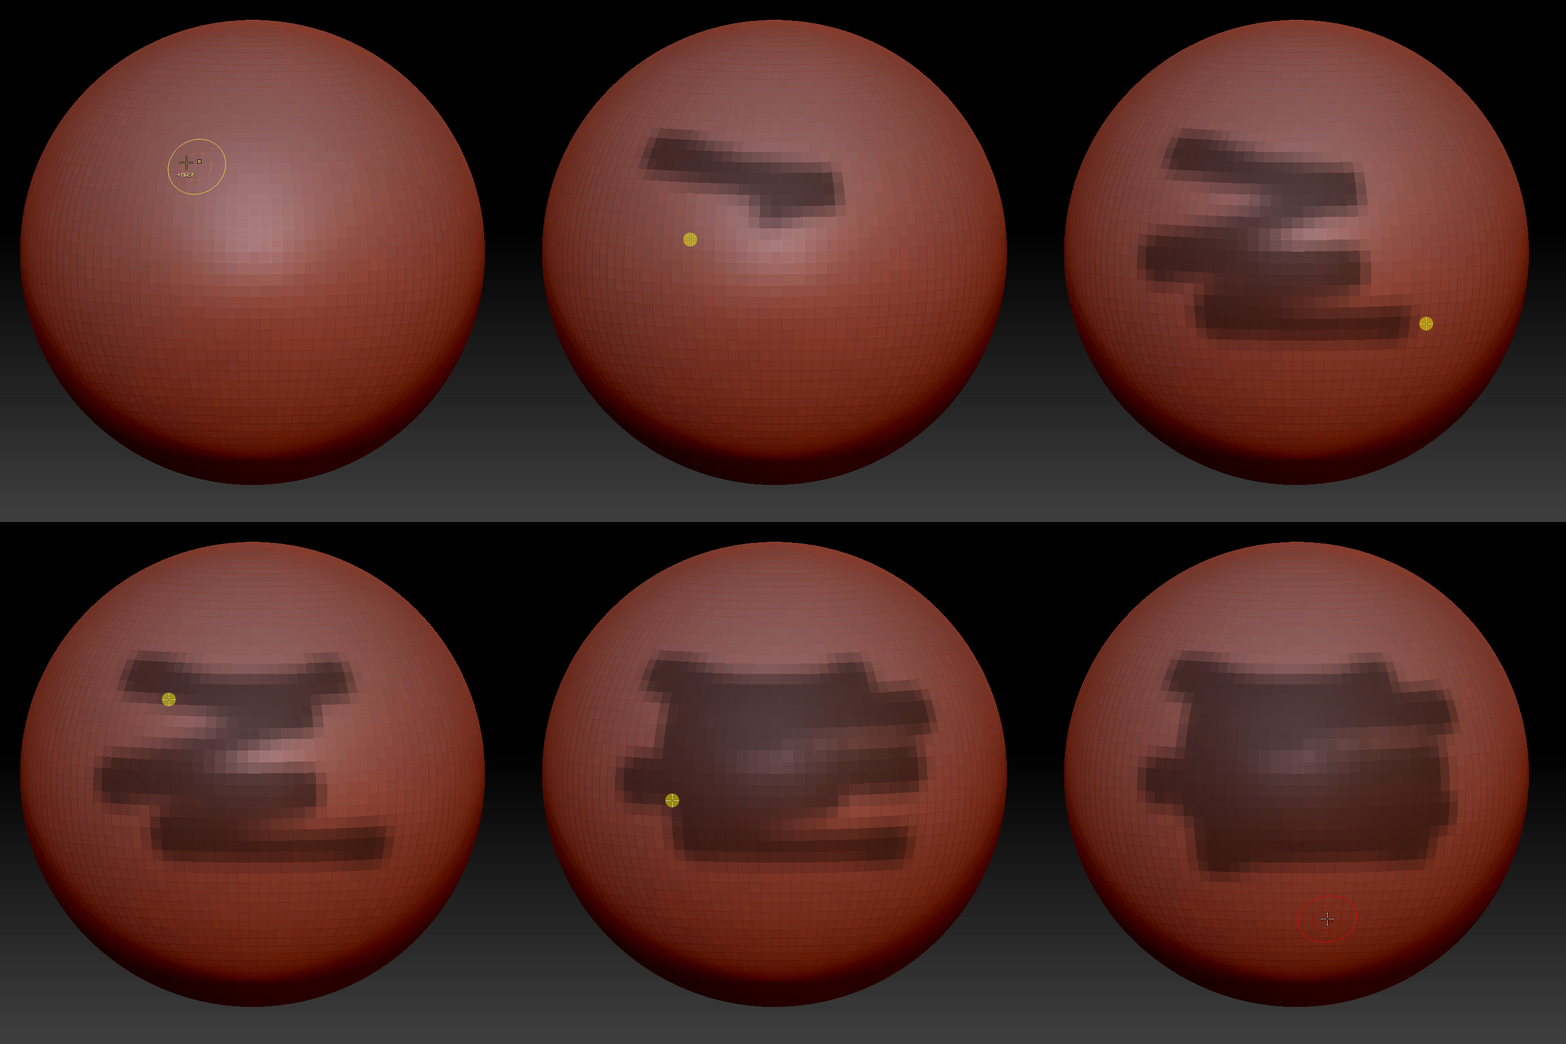
Mask Pen - Allows drawing to add to a mask, as if using a standard pen tool.
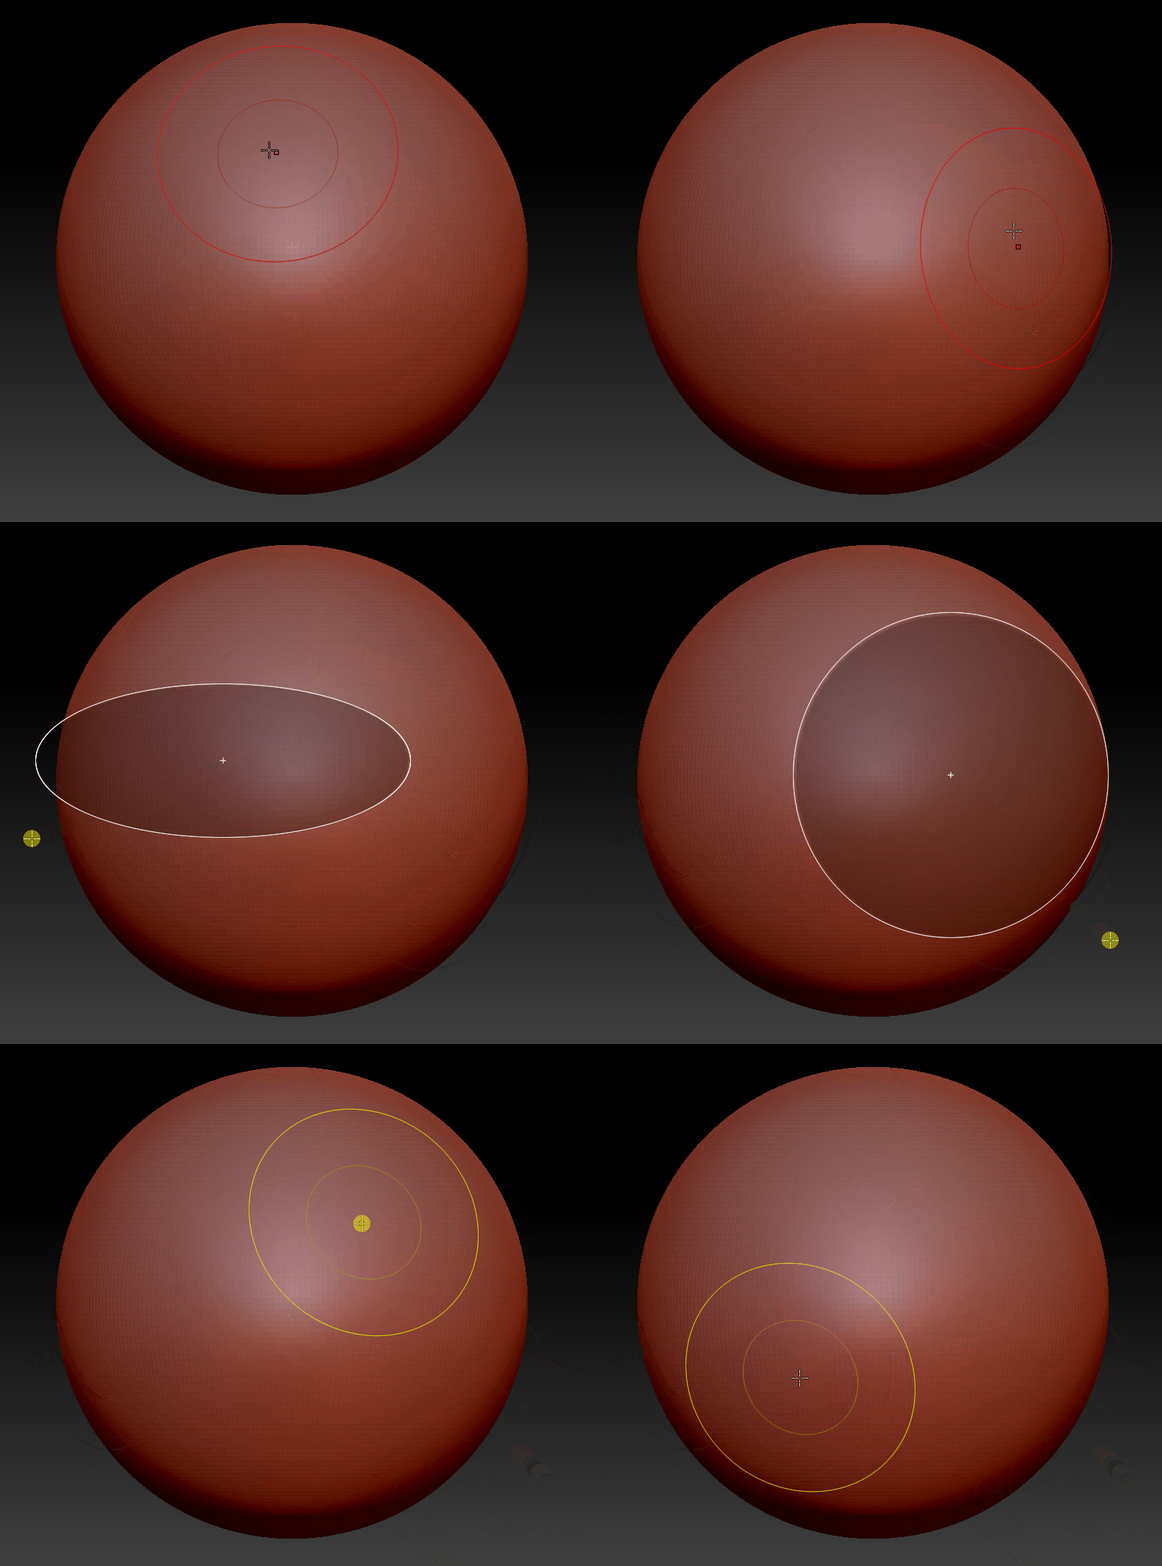
Mask Circle - Allows dragging a circular shape to add to a mask.
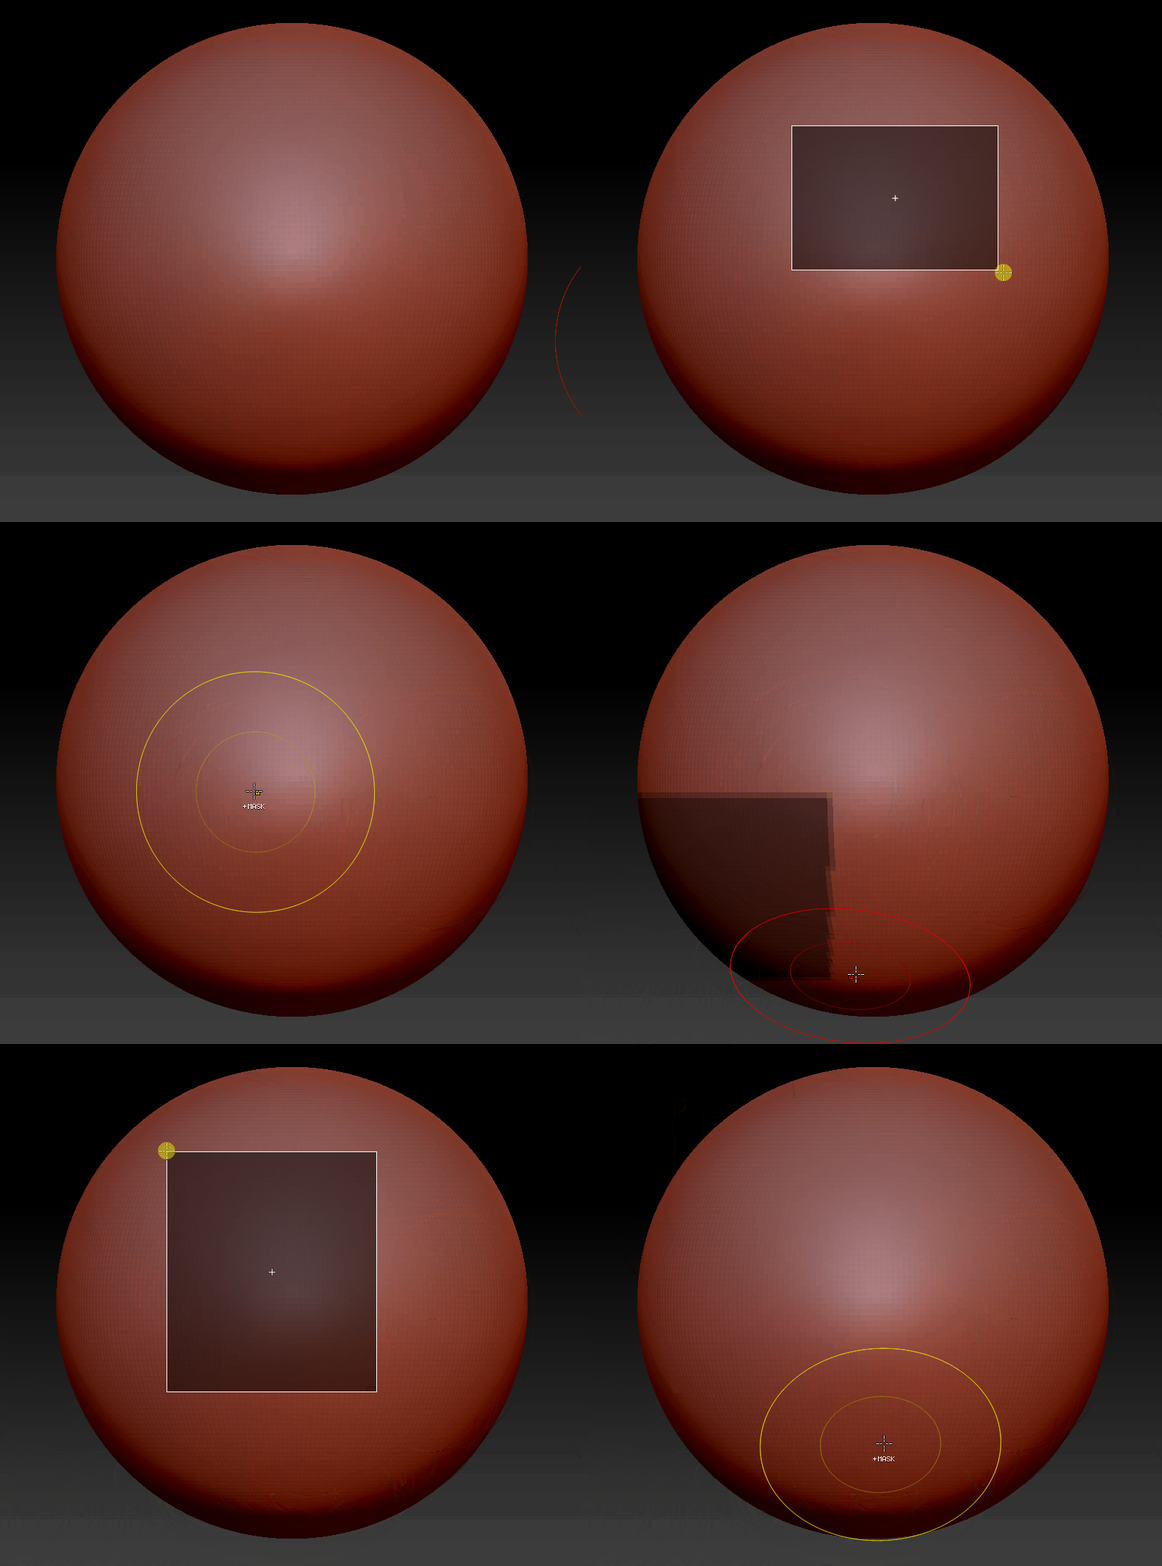
Mask Rectangle - Allows dragging a rectangular shape to add to a mask.
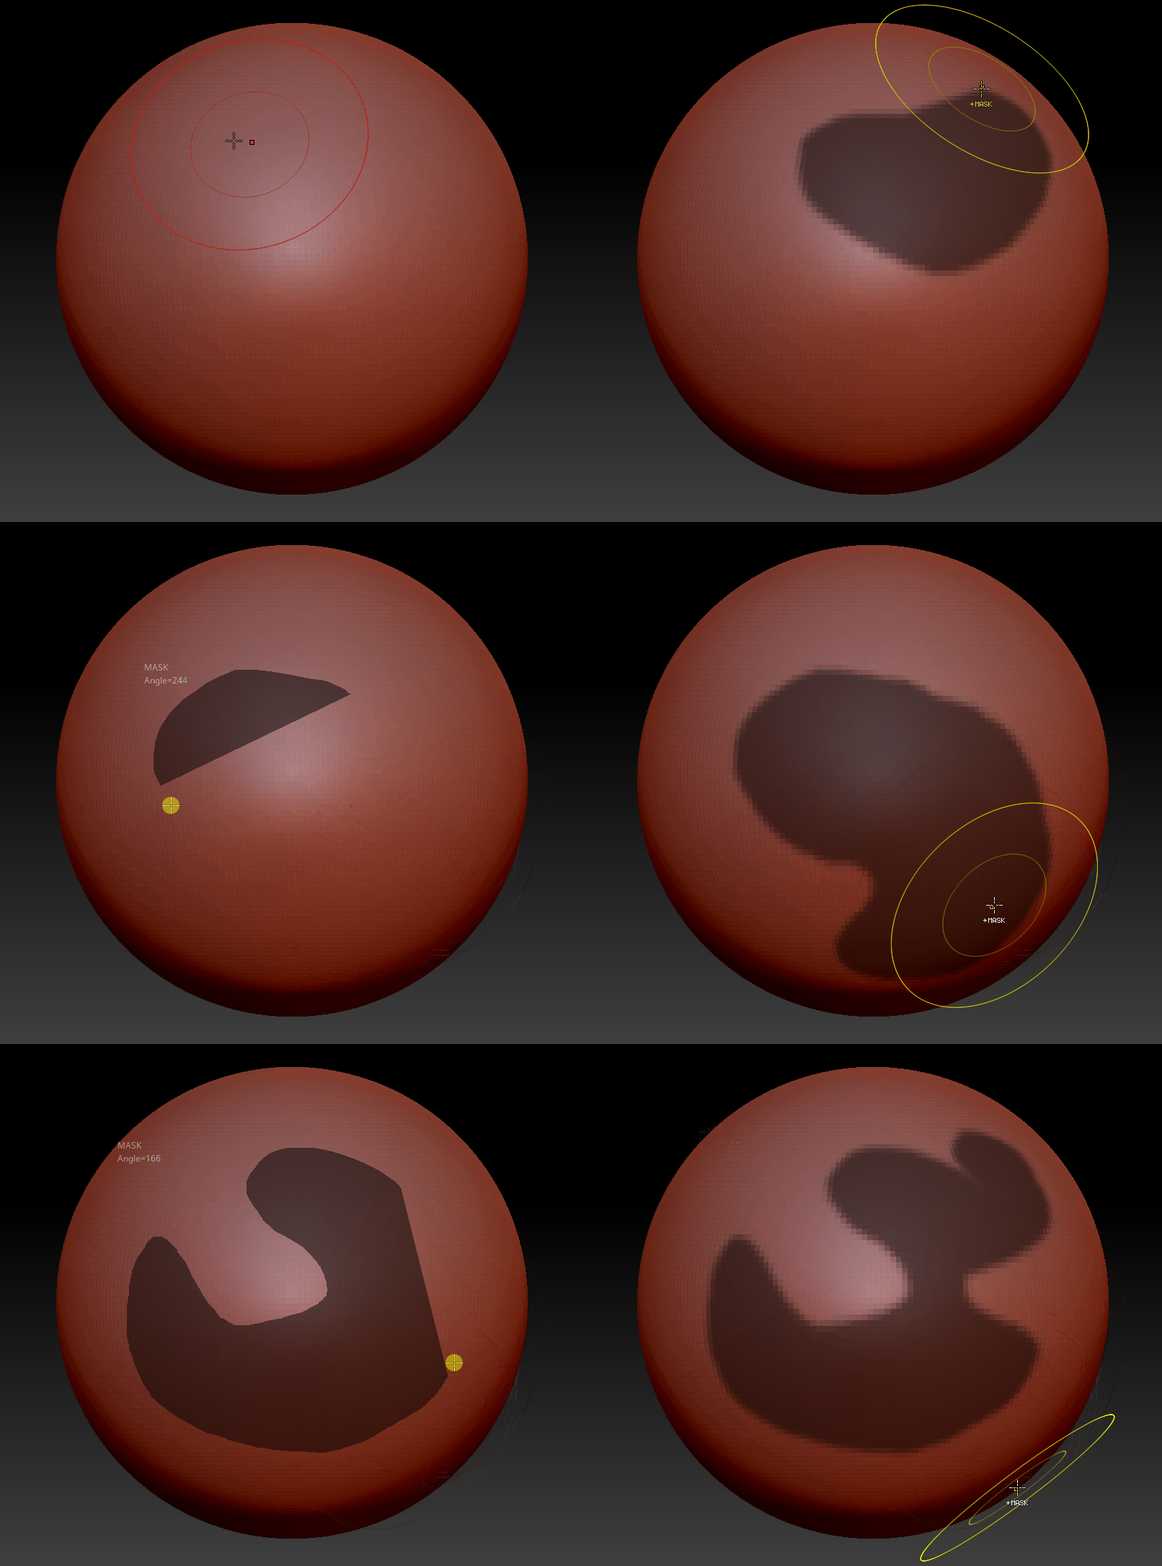
Mask Lasso - Allows dragging the mouse in various, custom shapes to add to a mask.
This is generally the most versatile of the mask options.