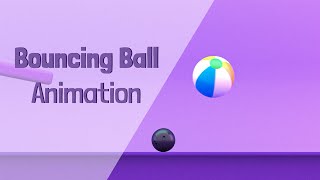
3D Animation - Bouncing Ball Assignment
Your Second 3D Animation Exercise
Animating a Bouncing Ball in 3D
Before starting this exercise, we recommend you're first familiar with the First Steps in 3D Animation. Specifically, you should have already completed the Level 1 Pendulum assignment.
Preface: Notes About this Exercise
Impact of Chosen Bouncing Ball Rig
While this site's pages on the Pendulum exercises ( Level 1 Pendulum assignment / Level 2 Pendulum assignment ) largely guide step by step, this Bouncing Ball exercise takes a more general approach.
This is because very little control is needed to do the Pendulum exercises. For the most part, as long as we have at least 3 segments and can rotate them, then we'll all have the same experience. Meanwhile, our experiences with the bouncing ball will vary much more, depending on the rig chosen to use.
Not all Bouncing Ball rigs are equal. And while there's also no "wrong" bouncing ball rig for this exercise, the capabilities of the chosen rig will greatly influence what steps are taken next.
For example, some more basic Bouncing Ball Rigs only allow squashing and stretching in one dimension. Depending on how your ball is rotating through the animation, this can be very problematic for implementing any squash and stretch. To combat this, you might have to artificially have your ball rotate more or less, to be able to squash and stretch it when desired.
Other more advanced rigs allow keeping the direction of squash and stretch separate from the rotation of the rest of your rig, which is ideal and allows adding squash and stretch at any point, regardless of overall orientation.
Again, no Bouncing Ball rig is "wrong," but some are certainly easier to use than others.
On one hand, the type that allows free squash-and-stretch rotation is better for learning the
"basics" without additional steps.
On the other hand, the type that has squash-and-stretch bound to overall rotation can be good
to show how a rig is important, and how limitations of a rig can affect the overall animation as a whole.
Both have value for this exercise, and honestly if you can do this exercise twice (once with each rig type), it can be a good learning exercise.
Choosing a Style
Similarly, the desired outcome of style will also heavily affect your steps.
Aka, the age old question of "Cartoony Vs Realistic?"
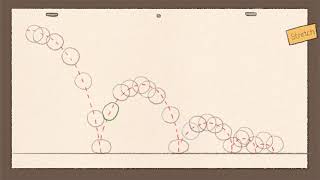
Do you want something that comes off as having a "cartoony" style of animation? Then exaggerate the effects you use for the bouncing ball, particularly when it comes to some of The Principles of Animation.
Or maybe you want something that comes off as having a more "realistic" style of animation. In which case you still want to largely use the same concepts, but try to be more refined in how you do them.
In particular, a cartoony style will often have far more extreme:
-
Squash and Stretch
-
Anticipation
-
Follow Through / Overlapping Action
-
Timing
-
Exaggeration
The below video gives a visual comparison of this.

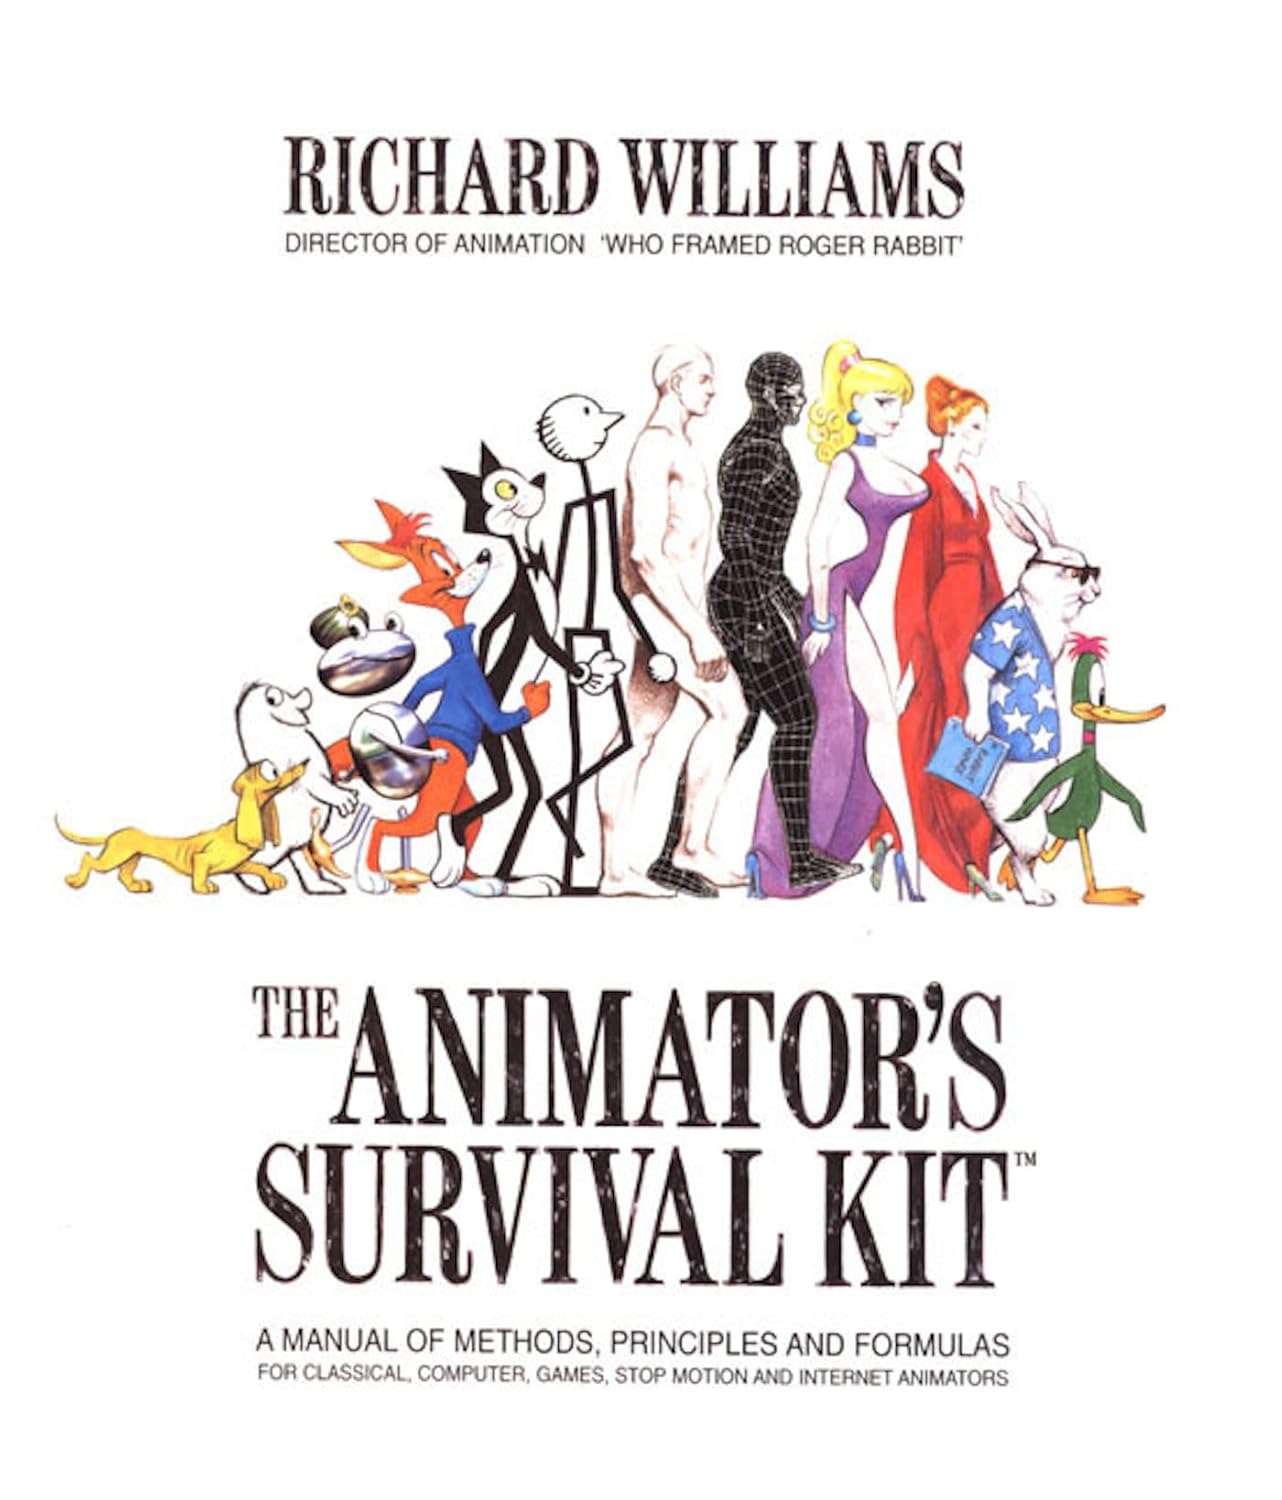
If you want more direct breakdowns on styles (as well as more breakdowns on the Bouncing Ball exercise), also consider the Animator's Survival Guide book.
If You Get Stuck
When in doubt, consider "what seems to be the largest, most glaring single problem I can tackle next?"
Often, an animator will be able to see multiple problems, all the way through to the very end. But always try to focus on what seems to be the biggest issues first!
Now you might be thinking "but I tend to be a perfectionist! It needs to ALL be perfect!"
Our response: "If you want to be successful in any kind of 3D art, you need to learn to break
your problems into sub-problems."
Don't think "The entire bouncing ball animation needs to be fixed."
Definitely do NOT think "My animation is bad, how do I fix it?"
Do think:
-
"The arcs could be better, let me fix that."
-
"The ball looks floaty on this bounce. Let me fix that."
-
"It's not squashing how I want it to on this bounce. What can I do about that?"
-
"There's too much (or not enough) momentum/rotation/etc during these frames. How do I adjust that?"
-
...
The list goes on.
As a rule, break your work down into actionable, single problems.
Then gradually work biggest to smallest in terms of what will have the most impact for time spent!
Step 1: What is the Bouncing Ball Exercise?
Bouncing Ball Overview
Largely, this exercise reinforces the concepts learned in our Level 1 Pendulum assignment, with the addition of Squash and Stretch as well. We'll be using a different rig, but if the Pendulum made sense, then this exercise should hopefully be fairly intuitive.
At a high level, this exercise is also fairly straight forward, and most 2D Animation breakdowns can give us insight on what we want to do.
For the below video, note that our animation software will fill in the in-between frames for us, similar to our Pendulum exercise.
Bouncing Ball Details
Generally speaking, we want to practice animating multiple Bouncing Balls (ideally at least 3 separate balls), each with their own feeling of weight and momentum.
For example, how would a bowling ball look and feel, versus a basket ball, versus a tennis ball, versus a beach ball?
Largely, this comes down to how much momentum each ball looses over time, as well as overall physical feel, which is largely influenced by things like timing and amount of squash and stretch.
And yes, the graph editor curves as well. Learn to love the graph editor!
For beginners, the balls should bounce across a flat floor with no obstacles in the way, and for the starting version of this exercise, the balls should NOT hit or otherwise interact with each other at all.
We want to animate a minimum of 3 bounces per ball, and we want these balls to largely follow gravity, behaving similarly to a ball we would drop in real life.
In other words, each time the ball hits the ground, it will lose momentum and energy. So with each bounce, it will come back up lower and lower, until it is at ground level.
The amount of momentum loss, and general feel, will largely depend on your type of ball:
-
Bowling Ball - Something heavy and stiff, like a bowling ball, will lose momentum very fast, and stay mostly rigid the entire time.
-
Beach Ball - Something like a beach ball will lose momentum slowly, and feel much "floatier" the entire time. Beach balls also tend to be made of a fairly flexible material, so every time this hits something, we probably want a more visible squash and stretch than the bowling ball has.
-
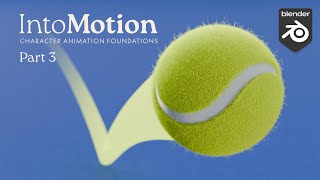
Tennis Ball - A tennis ball is an in-between of the above two. It will keep momentum similarly to the beach ball, but it also tends to move much faster and be less "floaty" than a beach ball. Because it moves faster, it will generally hit the ground harder, so this might need even more squash and stretch than either a bowling ball or a beach ball.
If this concept still isn't clear after watching the below videos, then consider googling "science of a bouncing ball" and seeing what you can find.
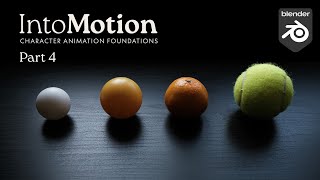
Youtube | Create Believable Motion | Blender Animation Course
A 5-minute, real-life breakdown of how different balls bounce.

Youtube | All Ball Bouncing (Animation Exercise)
A minute long example of different types of balls bouncing.
Goals Recap:
If you need a TLDR for above, then for the Level 1 Bouncing Ball exercise we want:
-
A very basic, flat background, with no obstacles. That means no objects, no walls, no hills. Only a floor and various balls to bounce.
-
We want to animate multiple bouncing balls of different types/weights. Ideally a minimum of 3 separate balls.
-
Each of our balls should bounce a minimum of 3 times (or until it comes to a rest, whichever is first), and ideally our balls are traveling in a generally forward direction (aka, NOT bouncing in place).
-
For these bounces, we want our balls to mimic realistic gravity. That is, for each bounce, it looses momentum and does not go back as high as the prior bounce.
-
We should attempt to apply The Principles of Animation where we can. In particular, that means practicing "Squash & Stretch" by stretching the balls during our arcs when they're moving fast, and squashing them when they hit the ground to bounce.
-
Use the graph editor! It might be unintuitive for some at this stage of our journey, but it's good to get familiar with it!
-
Optional: Practice the style of animation you want!
Cartoony Style - Experiment with really pushing and exaggerating how your ball moves. For example, try having it squash/stretch more than you'd think it needs, or for more frames than you originally intended. How does it look?
Realistic Style - Still use the same concepts, but be more reserved and subtle with it.
Even better if you try the exercise twice, once while attempting to do a "cartoony style," and once while trying to do a "realistic style." There are valuable skills to learn from both!
Step 2: Get a Single Ball Bouncing
The first step is to focus on only a single ball!
Sub-Step #1 - Same as the pendulum, first get your keyframes going.
In this case, this will be the most extreme points of your bounce arcs:
The tops of the arcs, and then when it hits the ground as well.
Sub-Step #2 - Then, just like the pendulum, we want to get the general timing of these keyframes. Our software might not make the in-betweens pretty at this stage, but as long as our keyframes have decent initial timing, then we can fix it.
Sub-Step #3 - The steps get less clear at this point, but start generally working on the
timing, on the momentum.
For example, you can:
-
Adjust your rotations as the ball bounces.
-
Go into the graph editor and adjust your curves.
-
Add more keyframes if you need, to get the desired look and feel.
(But reminder to not add too many or your timeline will get cluttered and hard to manage! Only add keyframes when you have a specific reason to need them. Don't add them willy nilly, as the graph editor can often help with that without additional keyframes!)
-
If needed, adjust your initial keyframes to get a better feel, as you flesh your ball out.
If you need help, the below videos go over this works in more detail.
REMINDER: Not all bouncing ball rigs are different, and yours might not behave exactly the
same as shown in the below videos!

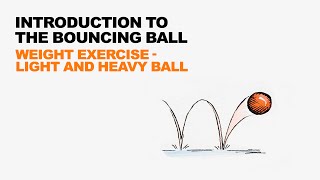
Youtube | Introduction To 3D Animation - Simple Bouncing Ball Exercise
A fairly short, 3 minute example in Maya of what we want to do. Note that this example has the ball bounce in place, which isn't quite what we want, but it's still good reference.
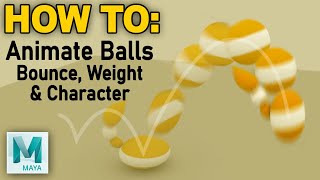
Youtube | Animate Balls in Maya
A fairly detailed, half an hour long video of how to animate a ball. Includes pretty comprehensive breakdowns of things like squash and stretch.
Step 3: Repeat Above Steps, with Ball #2, and then Ball #3
The idea is generally the same at this point, but we need to practice practice practice!
Again, ideally we want to animate a minimum of 3 separate balls.
The biggest difference is that each ball should have a different weight and feel.
Think bowling ball, basket ball, ping pong ball, tennis ball, beach ball, etc.
OPTIONAL Step 4: Practice Different Styles
Try a More Cartoony Animation Style
Did you do this exercise with a more realistic weight and feel? Most people do!
But what if you want to make it feel more cartoony?
Consider trying this exercise again, but really exaggerate some of the The Principles of Animation, which can help give more of a cartoony, whimsical feel.
You can also adjust your graph editor curves, to make motions faster for more exaggerated motions, or slower for more whimsical, floaty motions.
Try a More Realistic Animation Style
Conversely, did your balls feel kinda cartoony?
Then consider trying this exercise again, to see if you can get it to feel more realistic. In particular, focus on the graph editor curves to eliminate any sense of unintentional "floaty-ness", as a sense of real-world gravity plays a key part in "feeling realistic."
If you need, also double check that you're not using The Principles of Animation to too extreme an extent. For example, too much squash and stretch in this exercise can make your ball feel less real and more whimsical.
Closing Thoughts and Next Steps
Closing Thoughts
That's it for this exercise!
You've completed your second animation!
You should be proud of yourself, this stuff isn't easy!
If you struggled with this at all, it might be a good idea to go back and do it again from scratch! Can you do it again without having to reference this page?
If you can, then you probably understand these concepts enough to move on!
Or did you go back and try the optional version of this exercise? Did you maybe try animating additional balls, just for practice?
There is often value in redoing exercises, particularly when it comes to animating 2D or 3D objects and characters! Animation a complicated topic, and you'll only improve with practice.
Next Steps
If you're all done, and you don't want to repeat this exercise (We highly recommend the optional version. Seriously!), then you can move on to the following:
-
Go back to Principles of Animation.
We covered:Squash and Stretch
Straight-Ahead / Pose-to-Pose
Slow-In/Slow-Out
Arcs
Timing
Can you identify where and how we used each of these? Do you remember what each one is?
(Hint: Some of these were handled automatically by the computer software. But we still interacted with all of them!) -
If you haven't yet done it, consider doing the Level 2 Pendulum assignment.
-
And if done with all of those, you're ready to deal with actual characters. Go on to the Flour Sack assignment.